Felt Snowman Activity Felt Wall
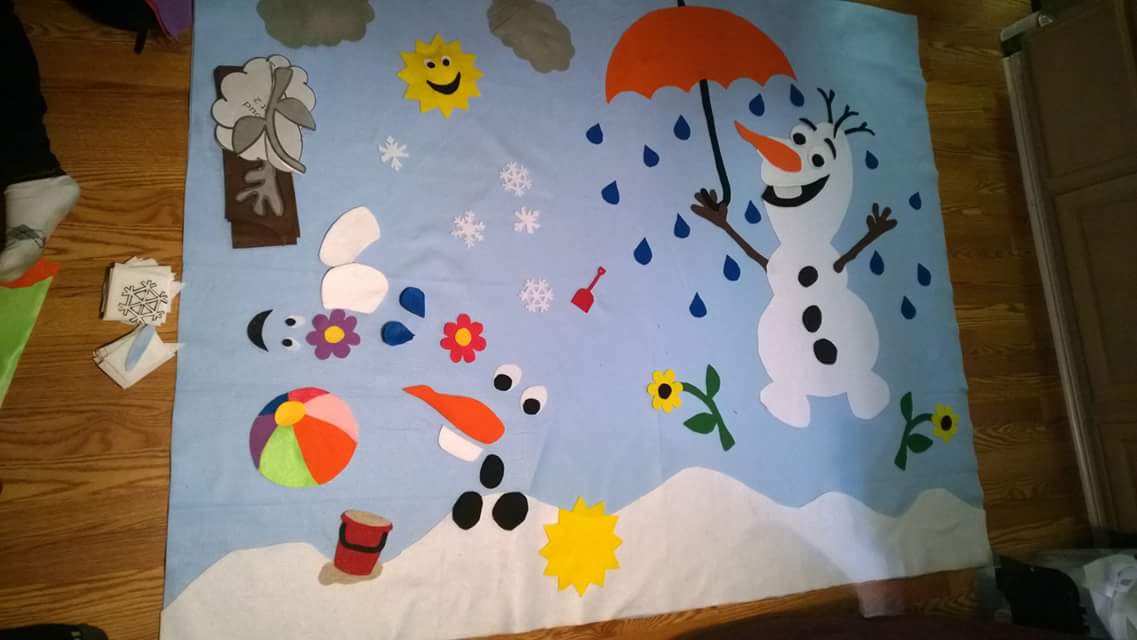
So I started with this idea of how cool it would be to have the kids a “FROZEN” Christmas party but then I thought everyone in the world is probably doing that. So at that point my mind started spinning with ideas on how to make ours different and this is what I came up with. A really cool snowman template that we can play with as an interactive felt wall.
Once I had the template created I decided to run to the craft store to buy some felt and lots off it too. But hey the best part was when I got there it was on sale for $2.99 a yard at Jo-Ann Fabrics and Hancock Fabrics so needless to say I was able to buy a 1/2 of yard of each color along with a couple of glitter sheets for the snowflakes, 1 yard of white for the snowman and snow then I bought 3 1/2 yards of blue for the background. I really didn’t need all this felt but I thought why not get it now because it’s on sale and I’m also making a second felt Christmas tree that the kids can interact with as well! This way I can switch them both out over the month of December.
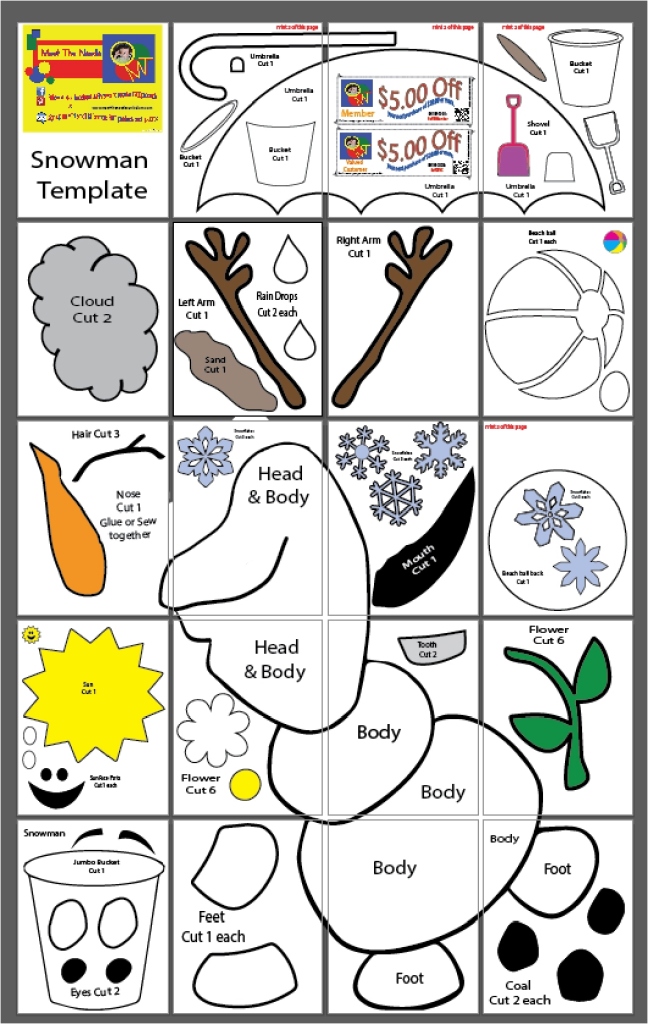
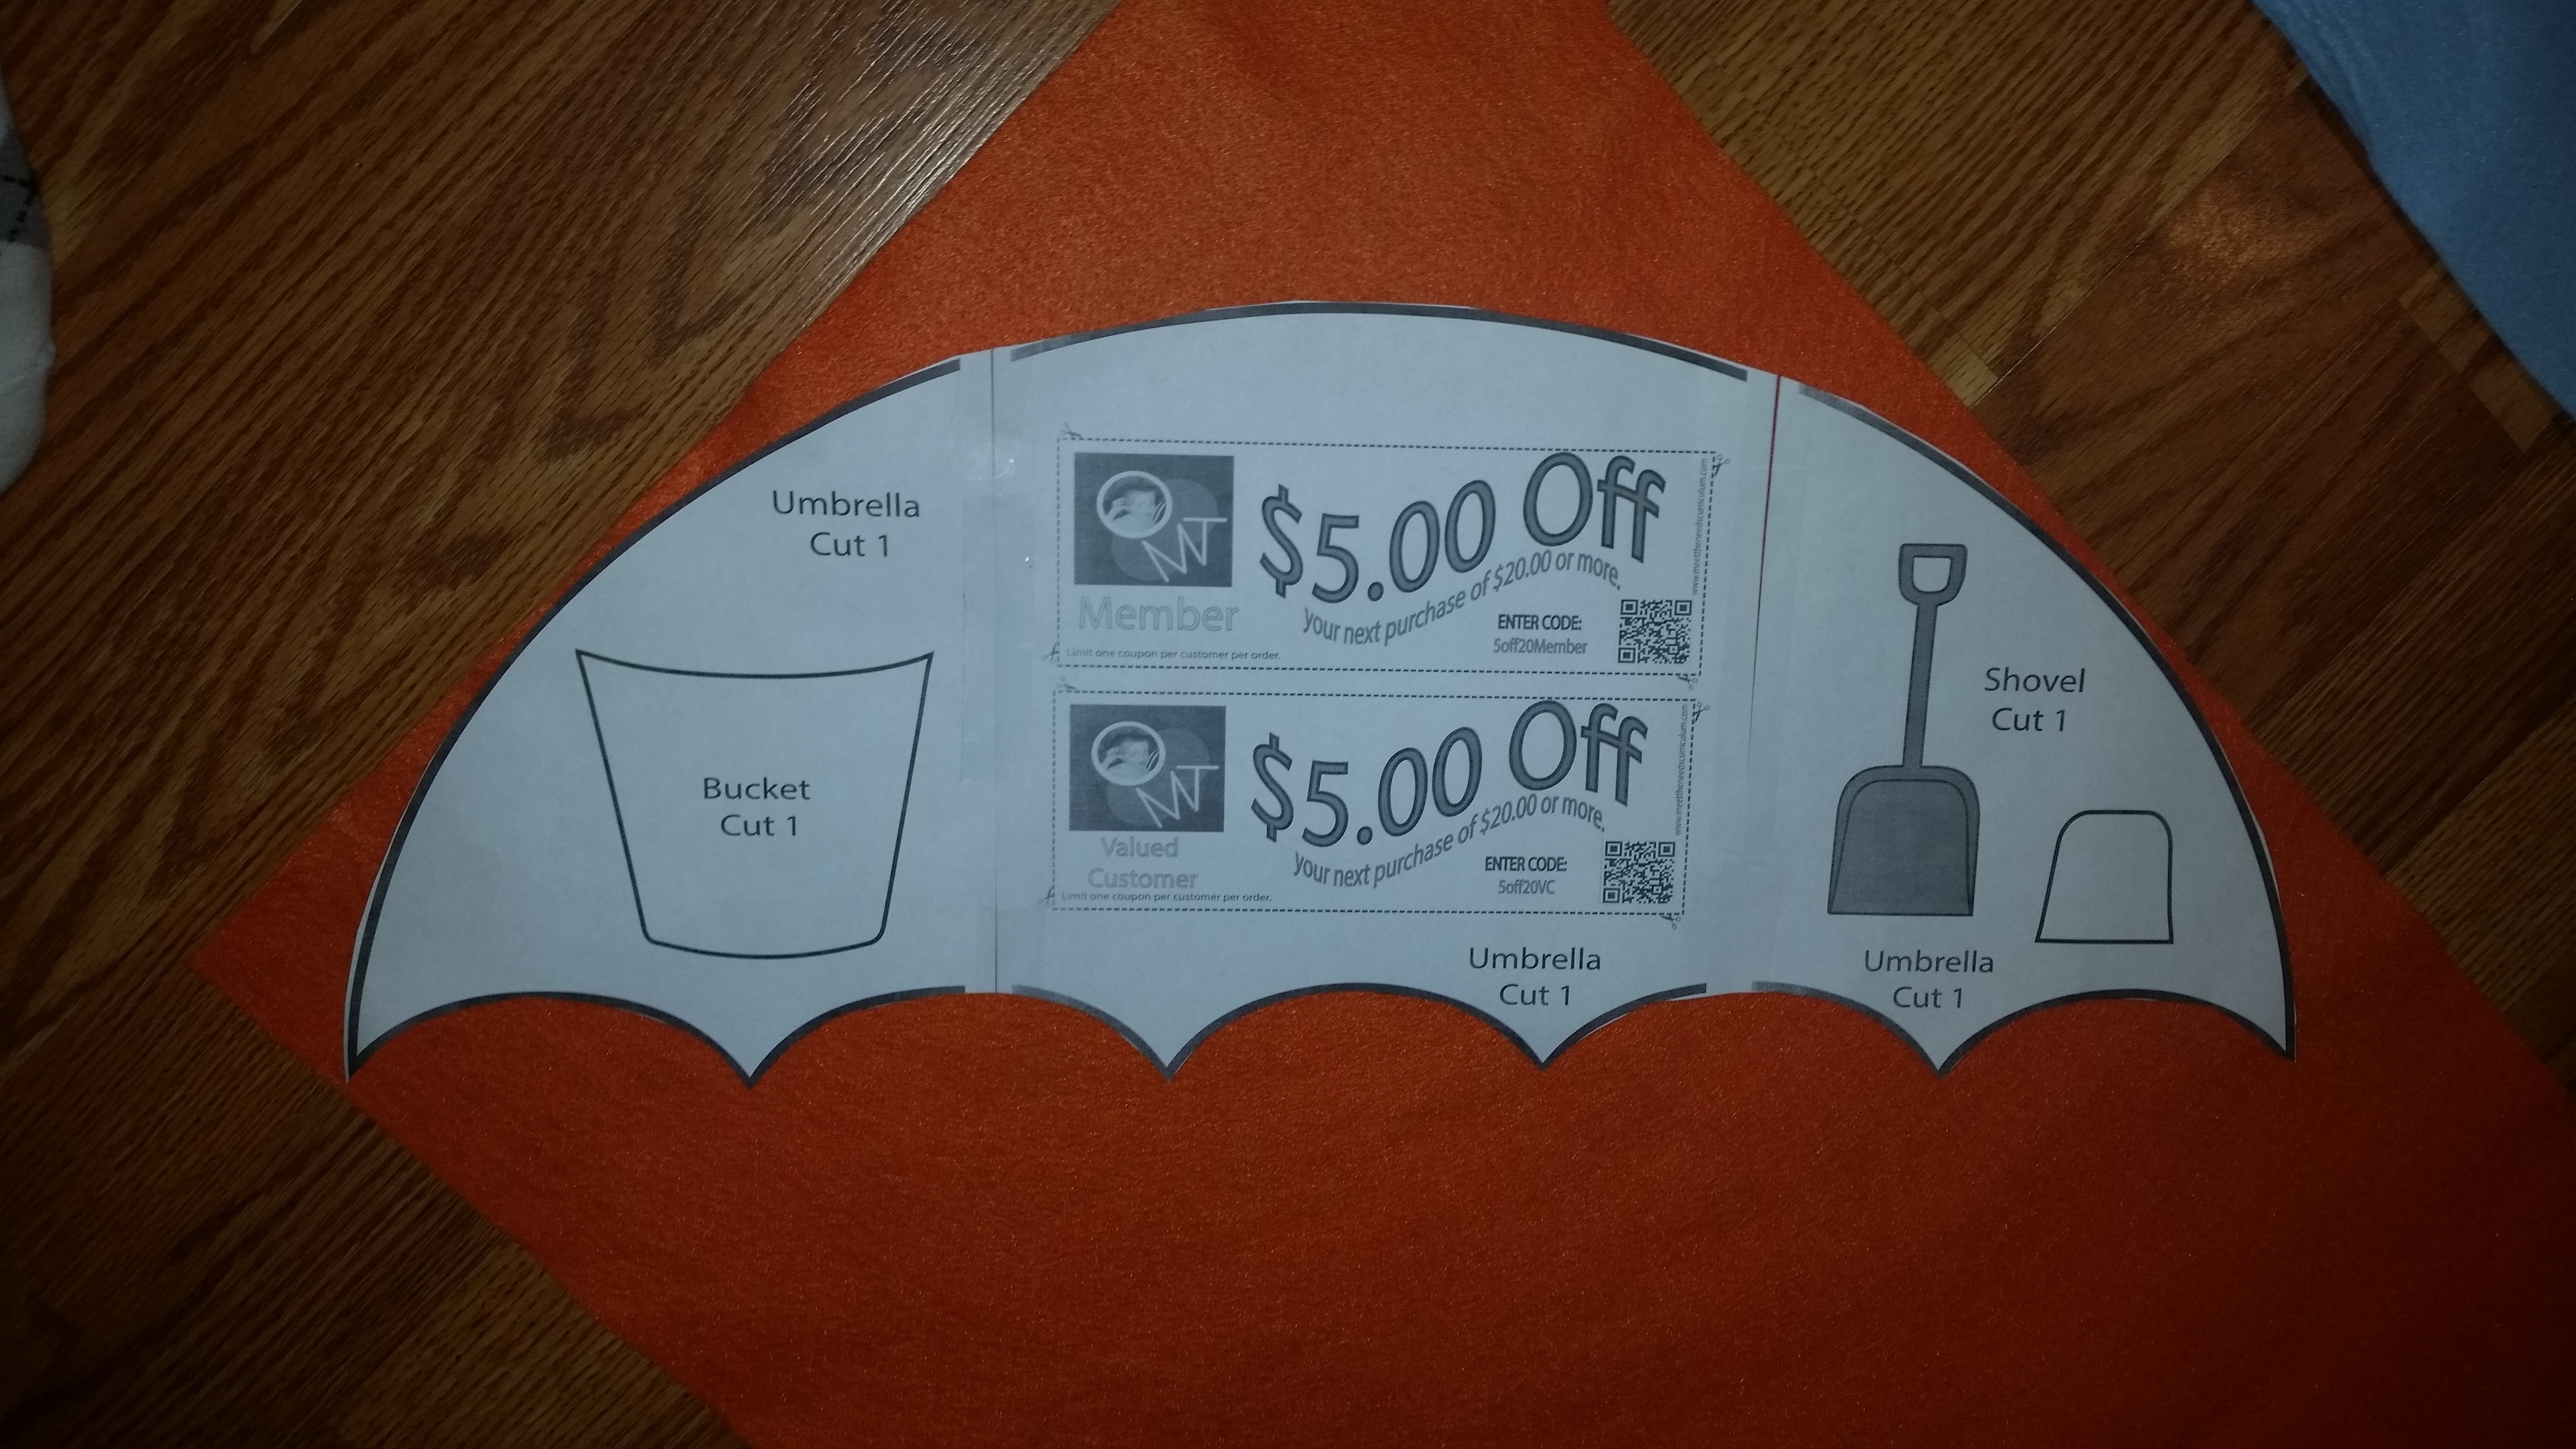
First thing you need to do is print out your template and tape it together.
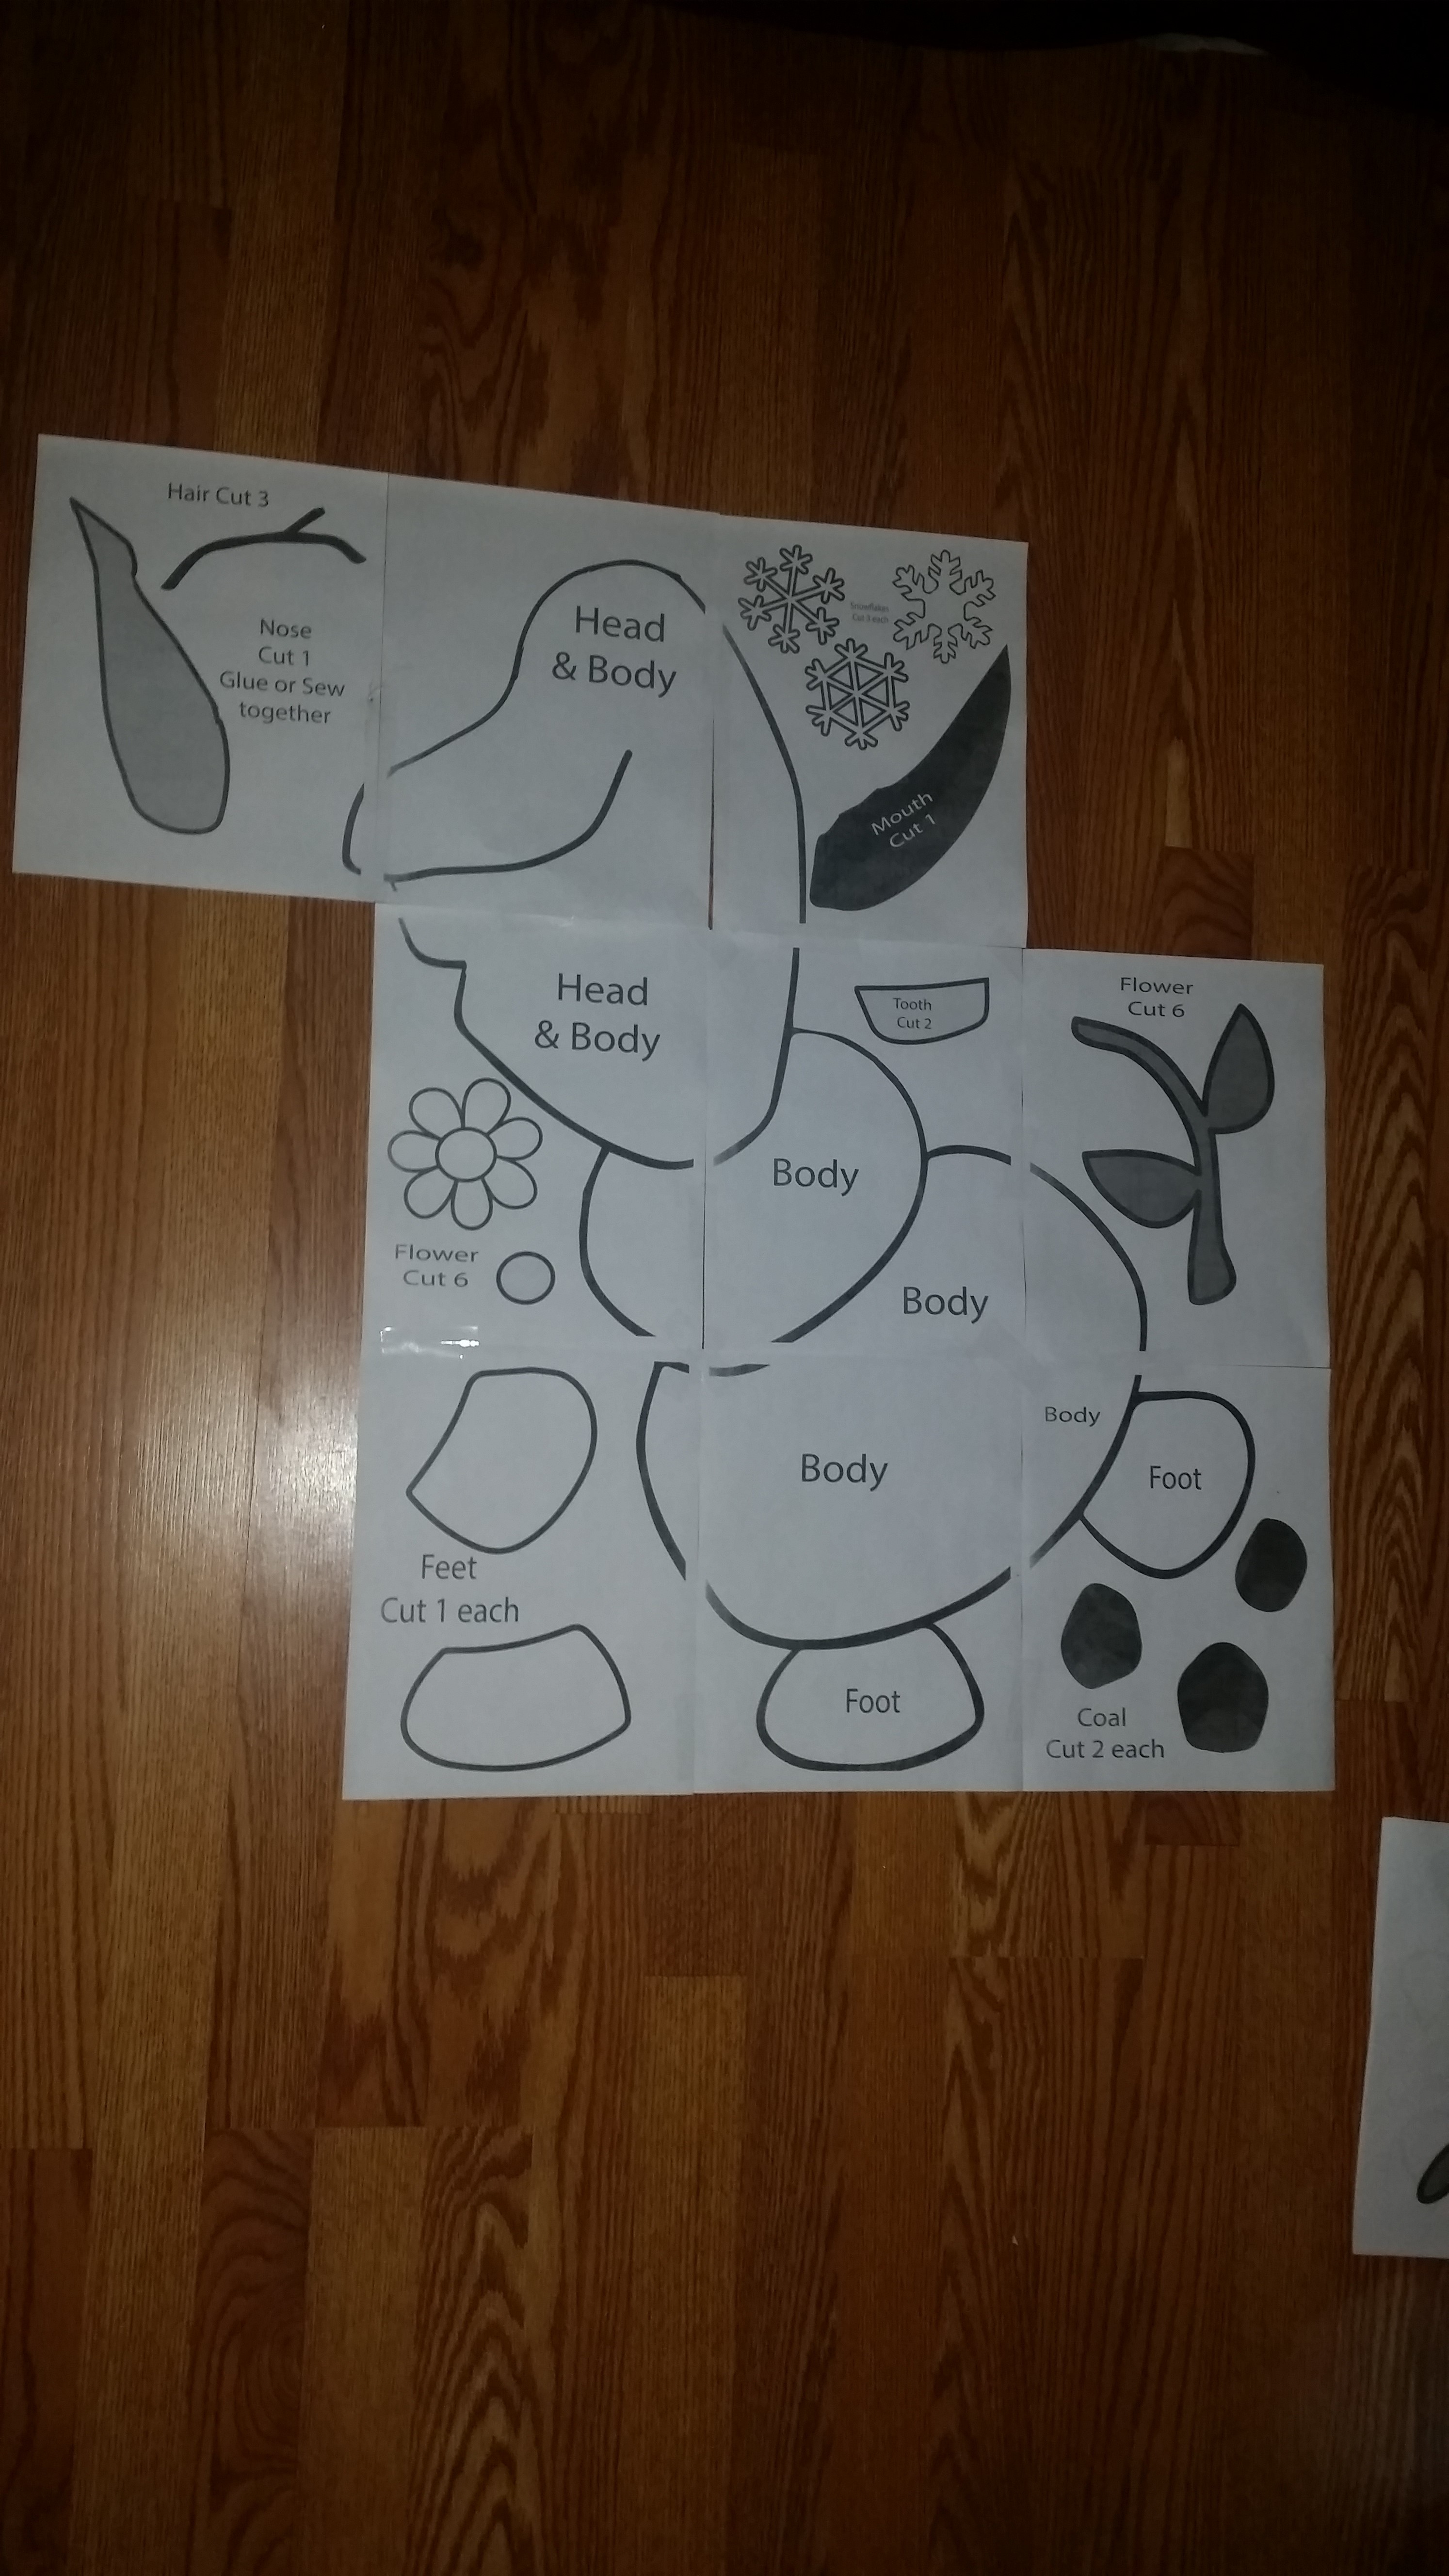
Then you need to cut out each template. Caution the snowman is a big little guy lol.
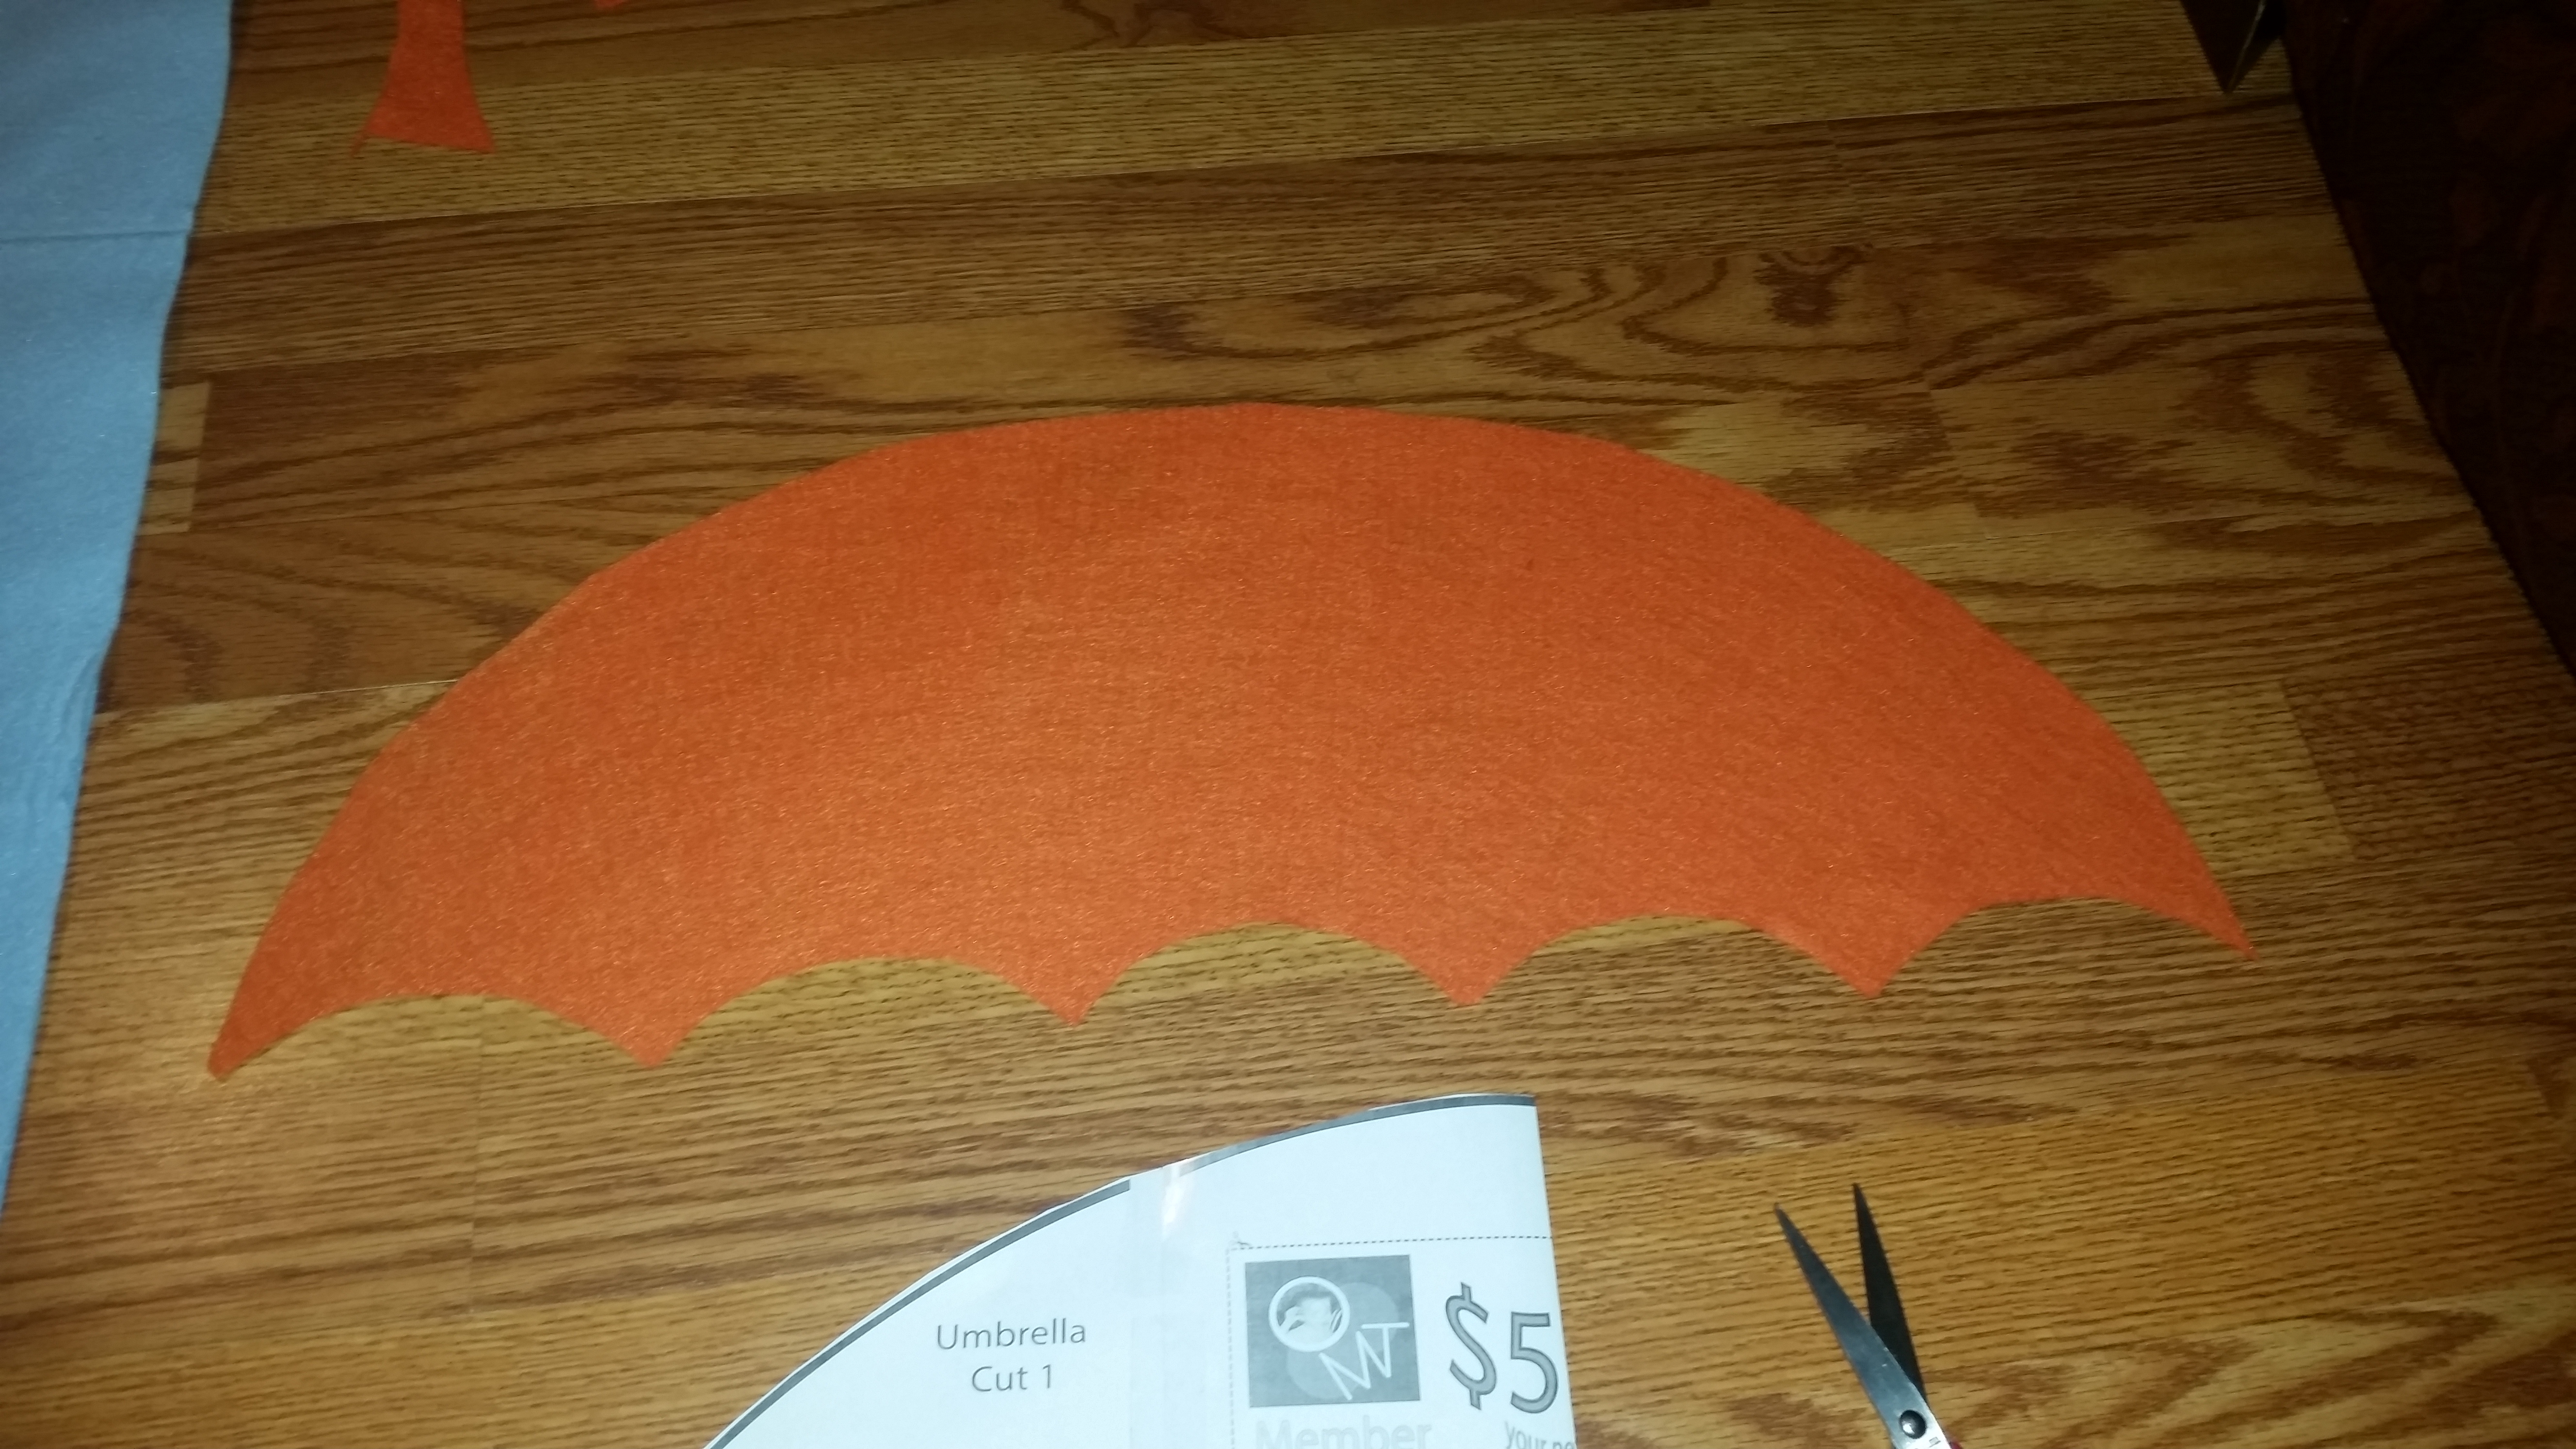
After that then cut out everything else except what’s in the middle of the umbrella.
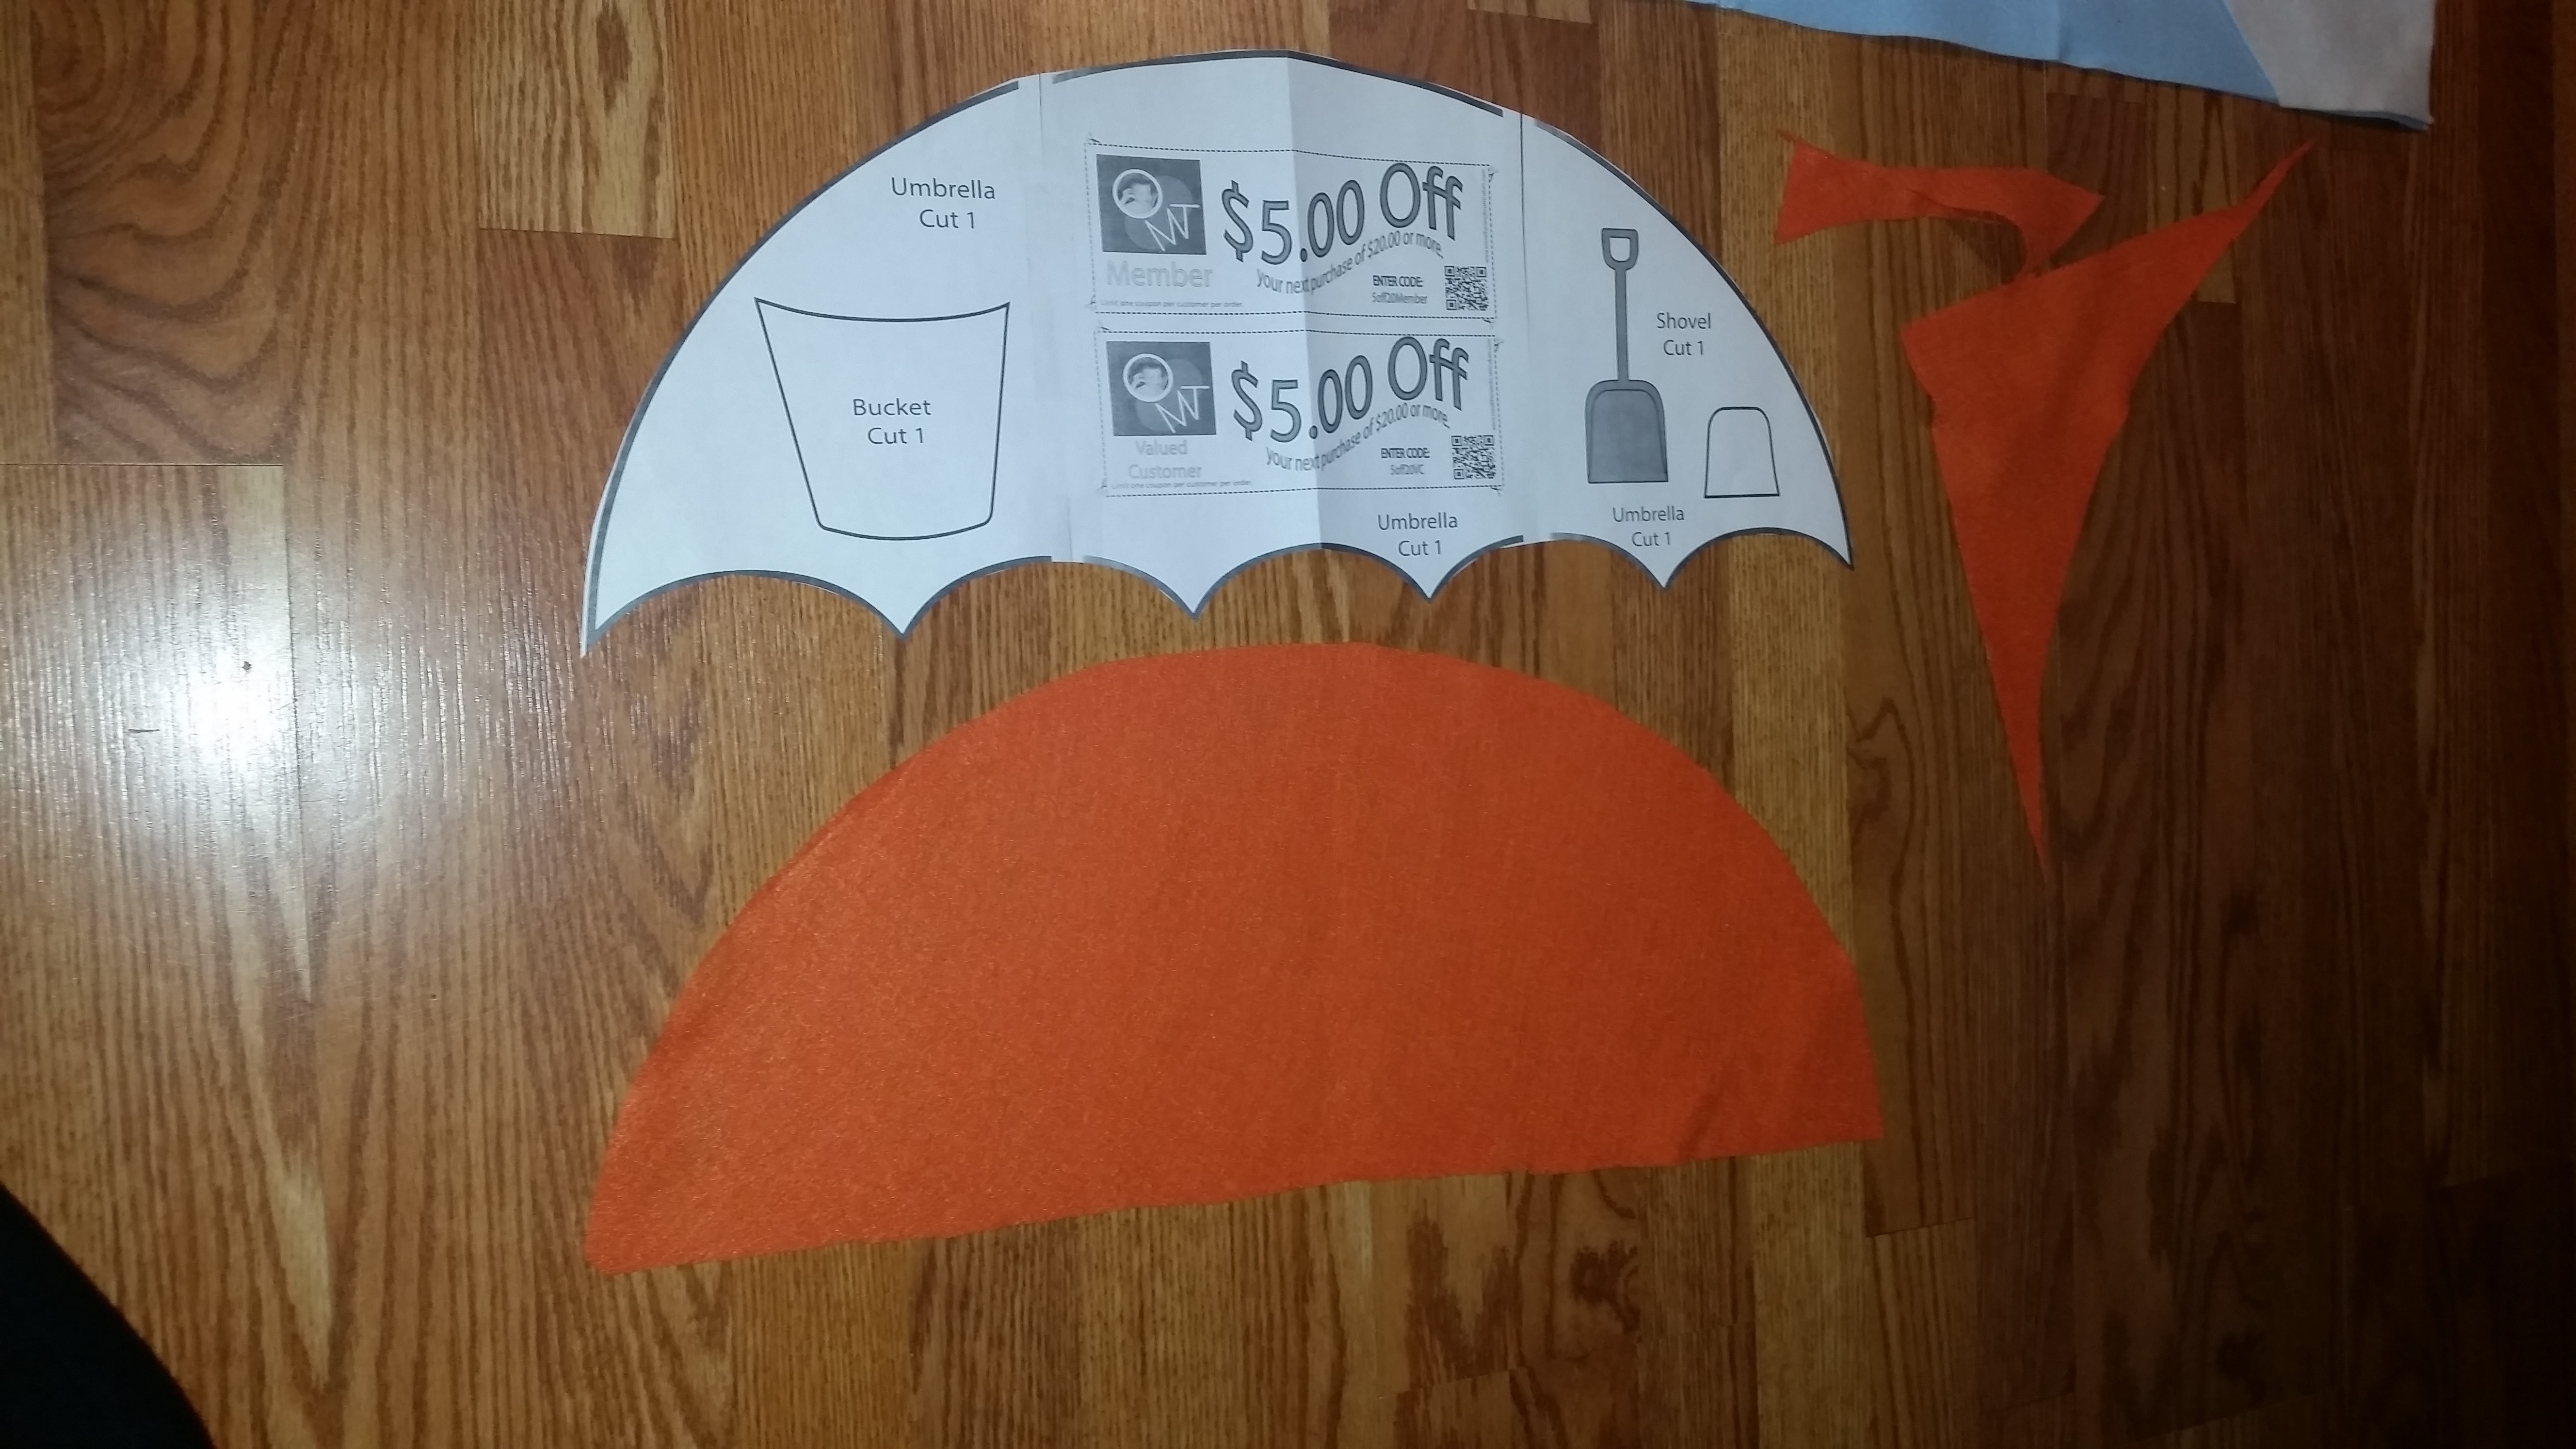
Here’s the easiest way to cut this out
Then fold it in half to cut your loops.
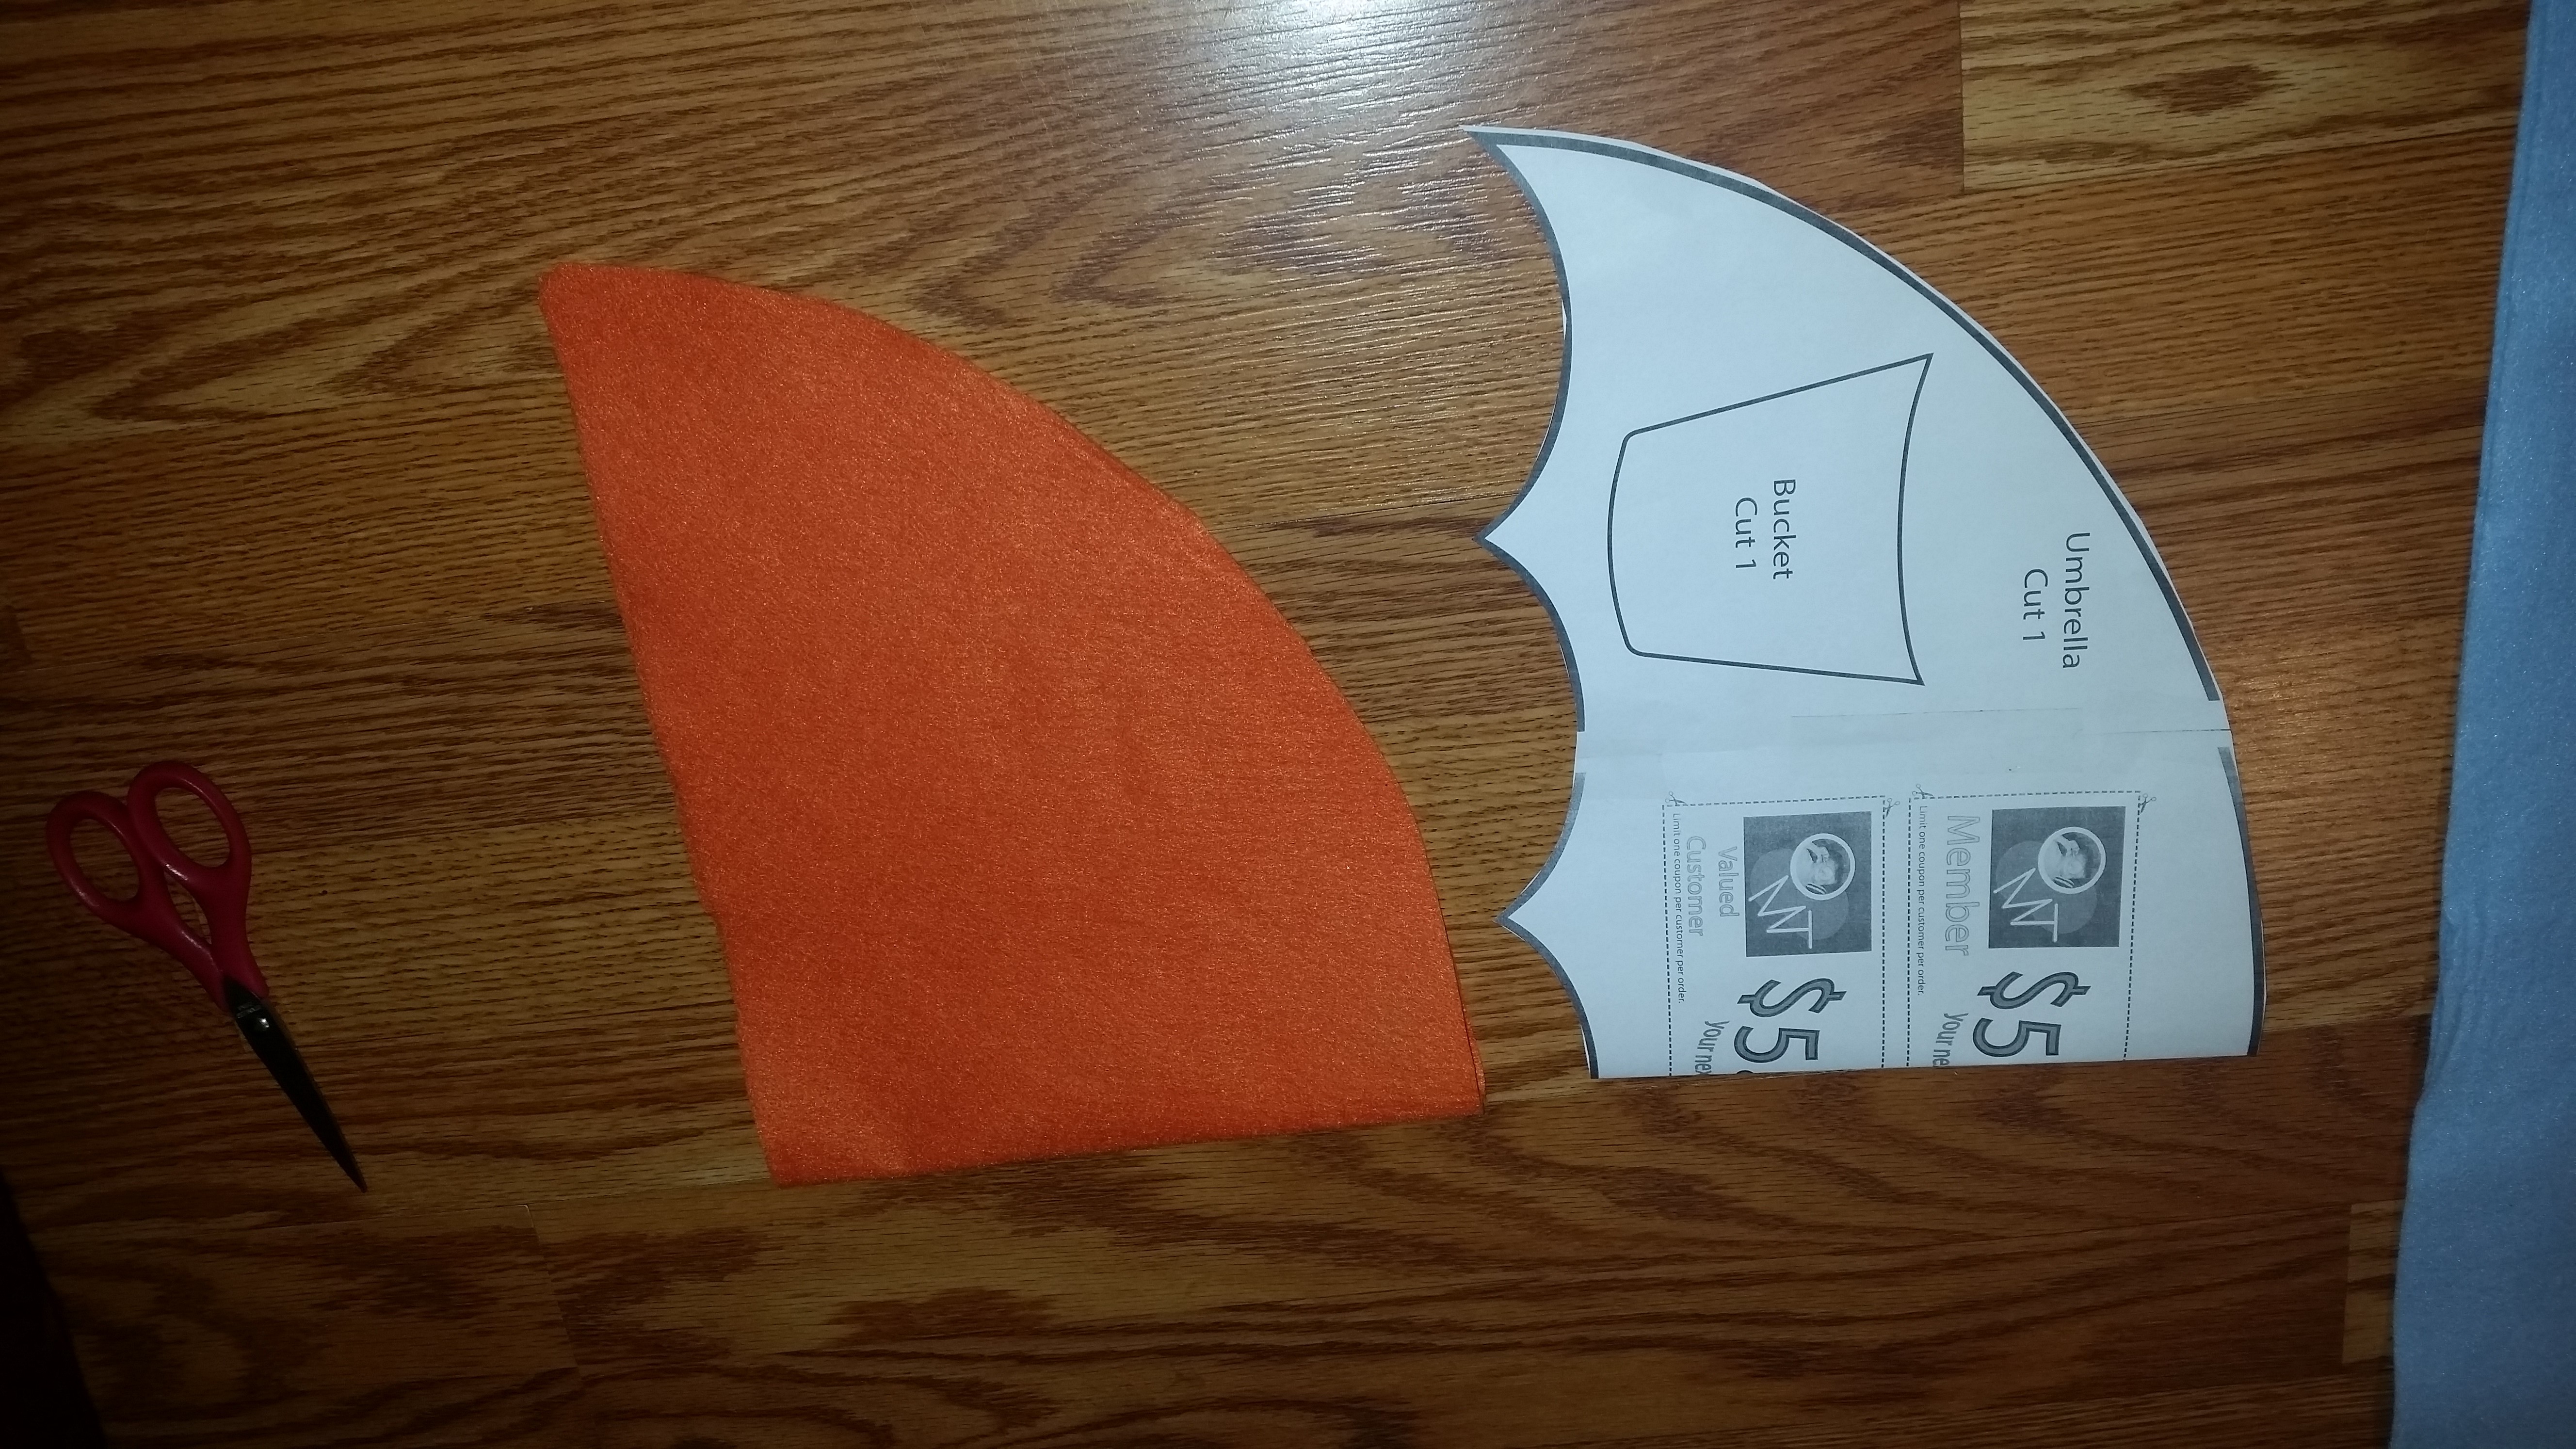
Like this.
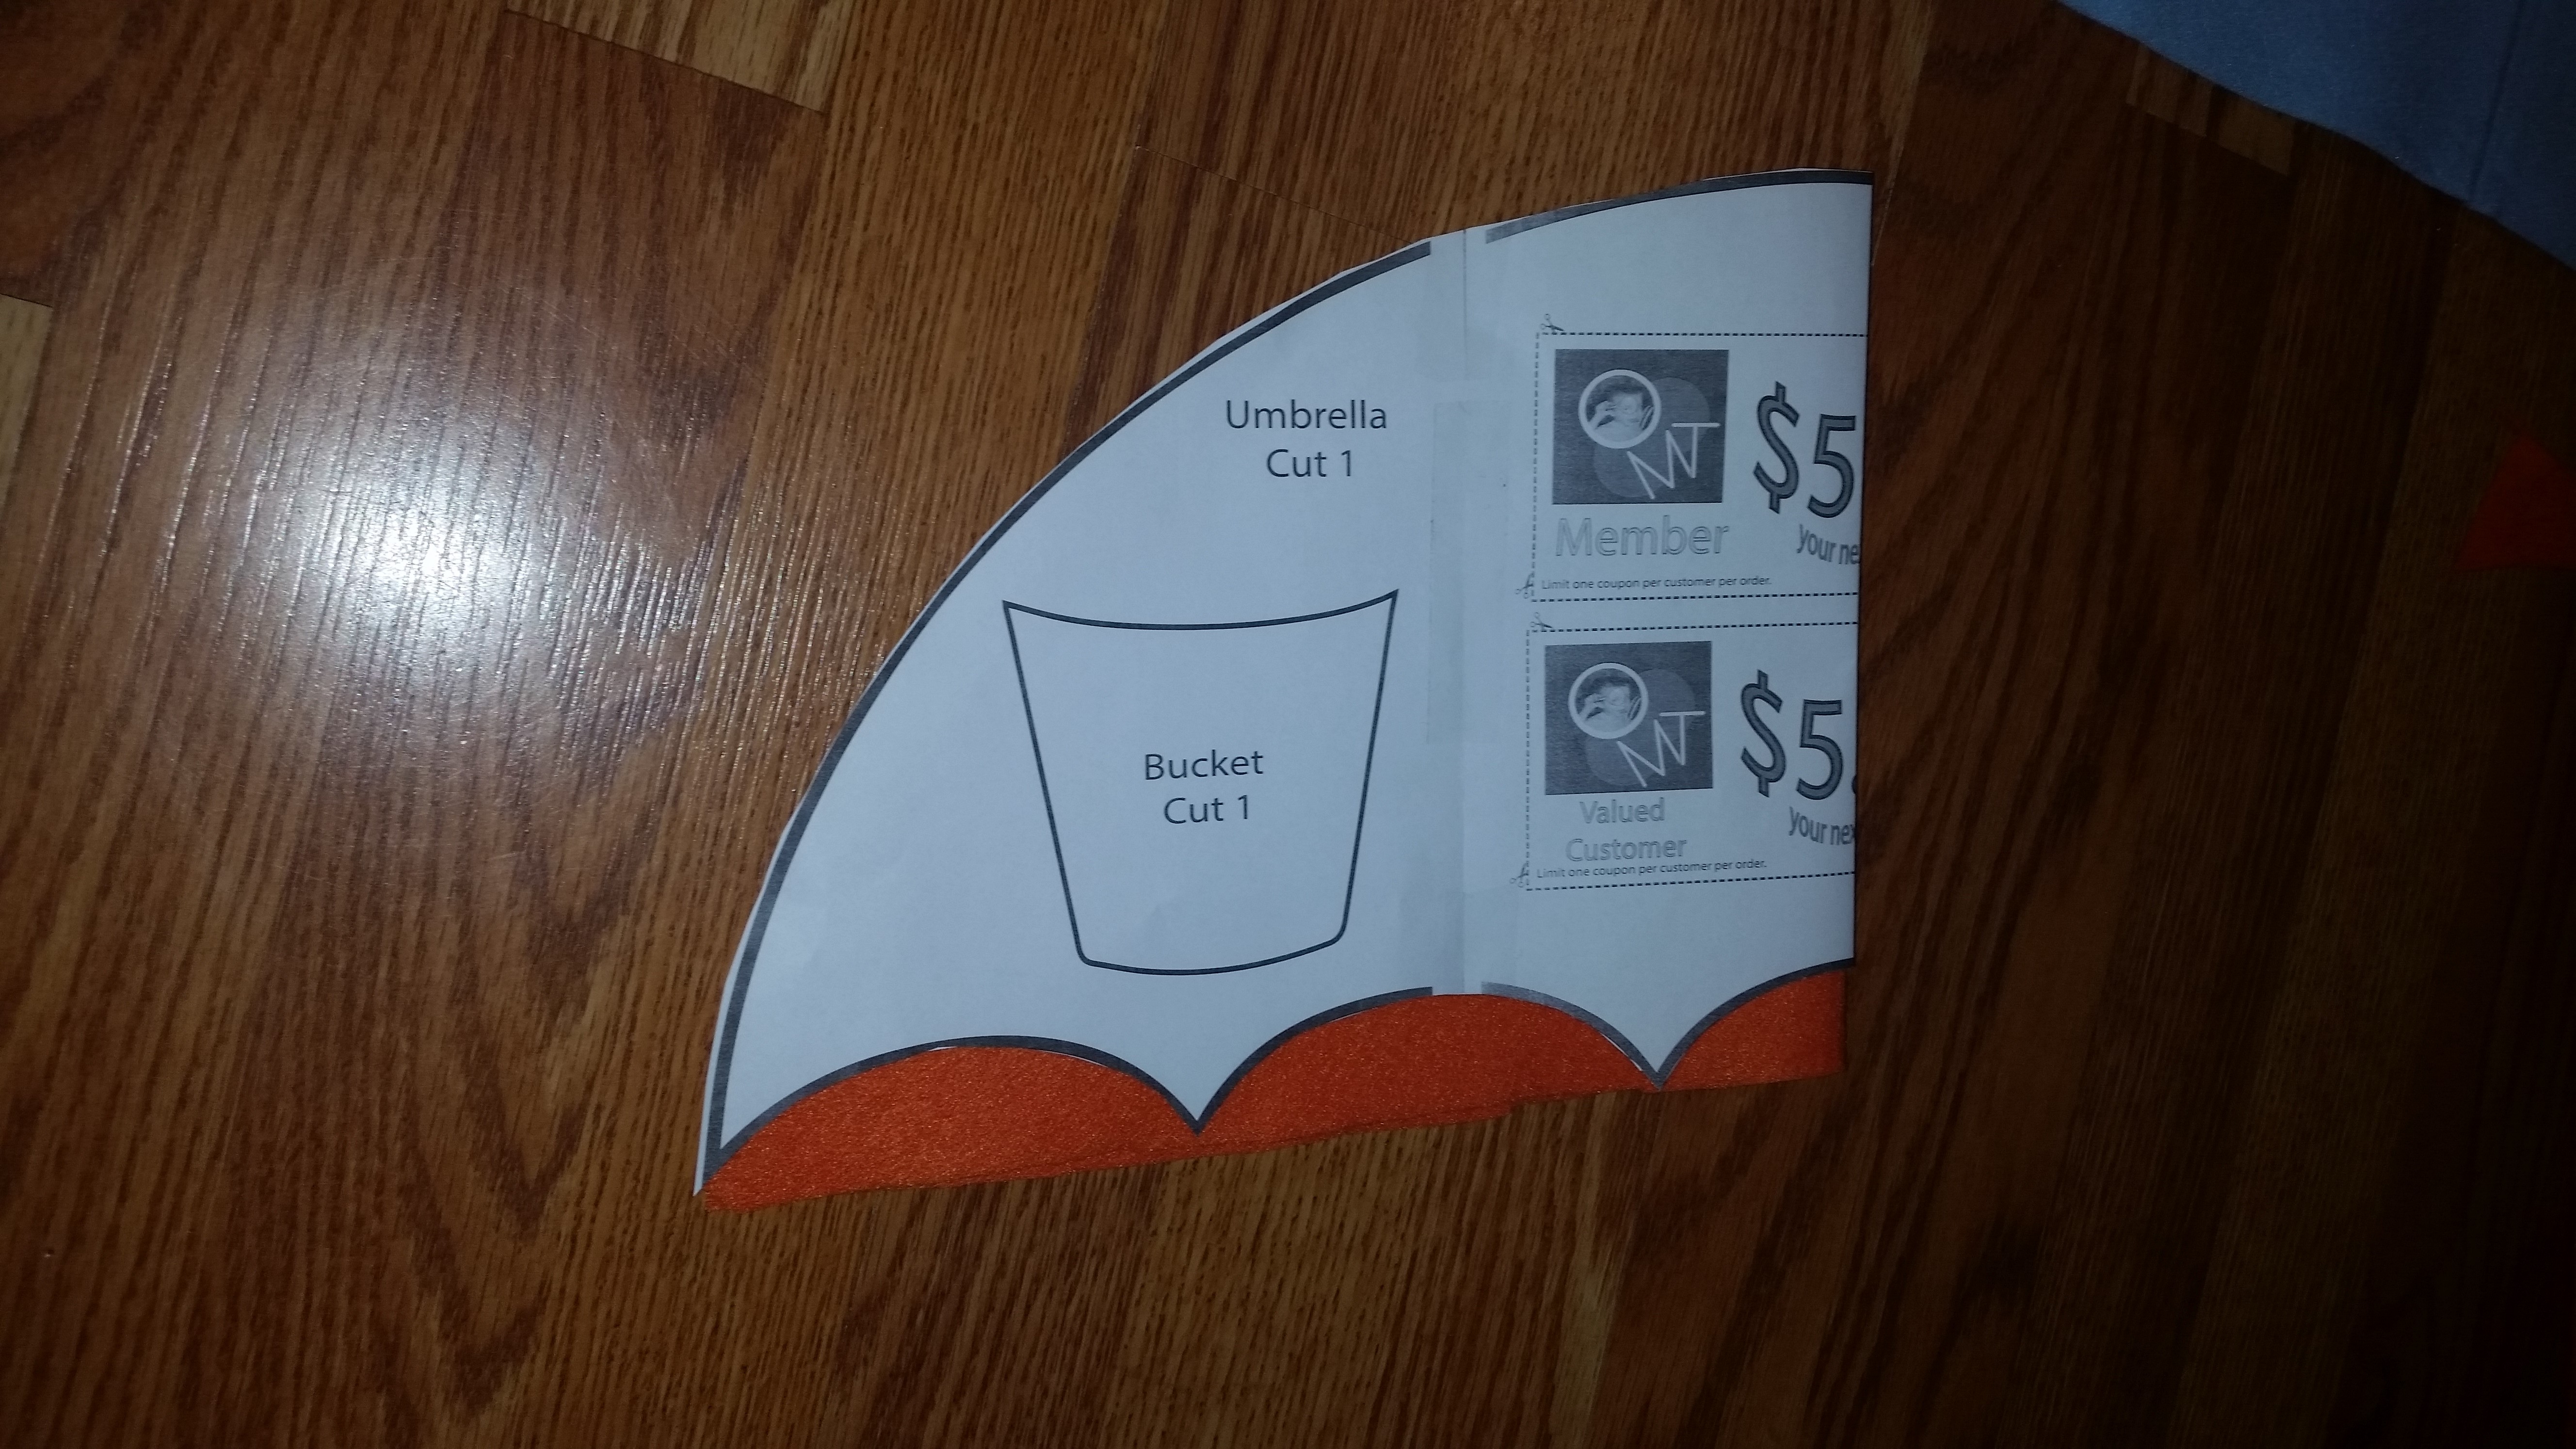
It should look like this when your finished cutting it out.
Okay now for those small parts.
I cut both arms out then I used a sharpie trace the template onto the felt. After that I put the traced pattern on top of felt I then sewed them each together to make it thicker. I did 2 arms equaling 4 piece of felt for this part.
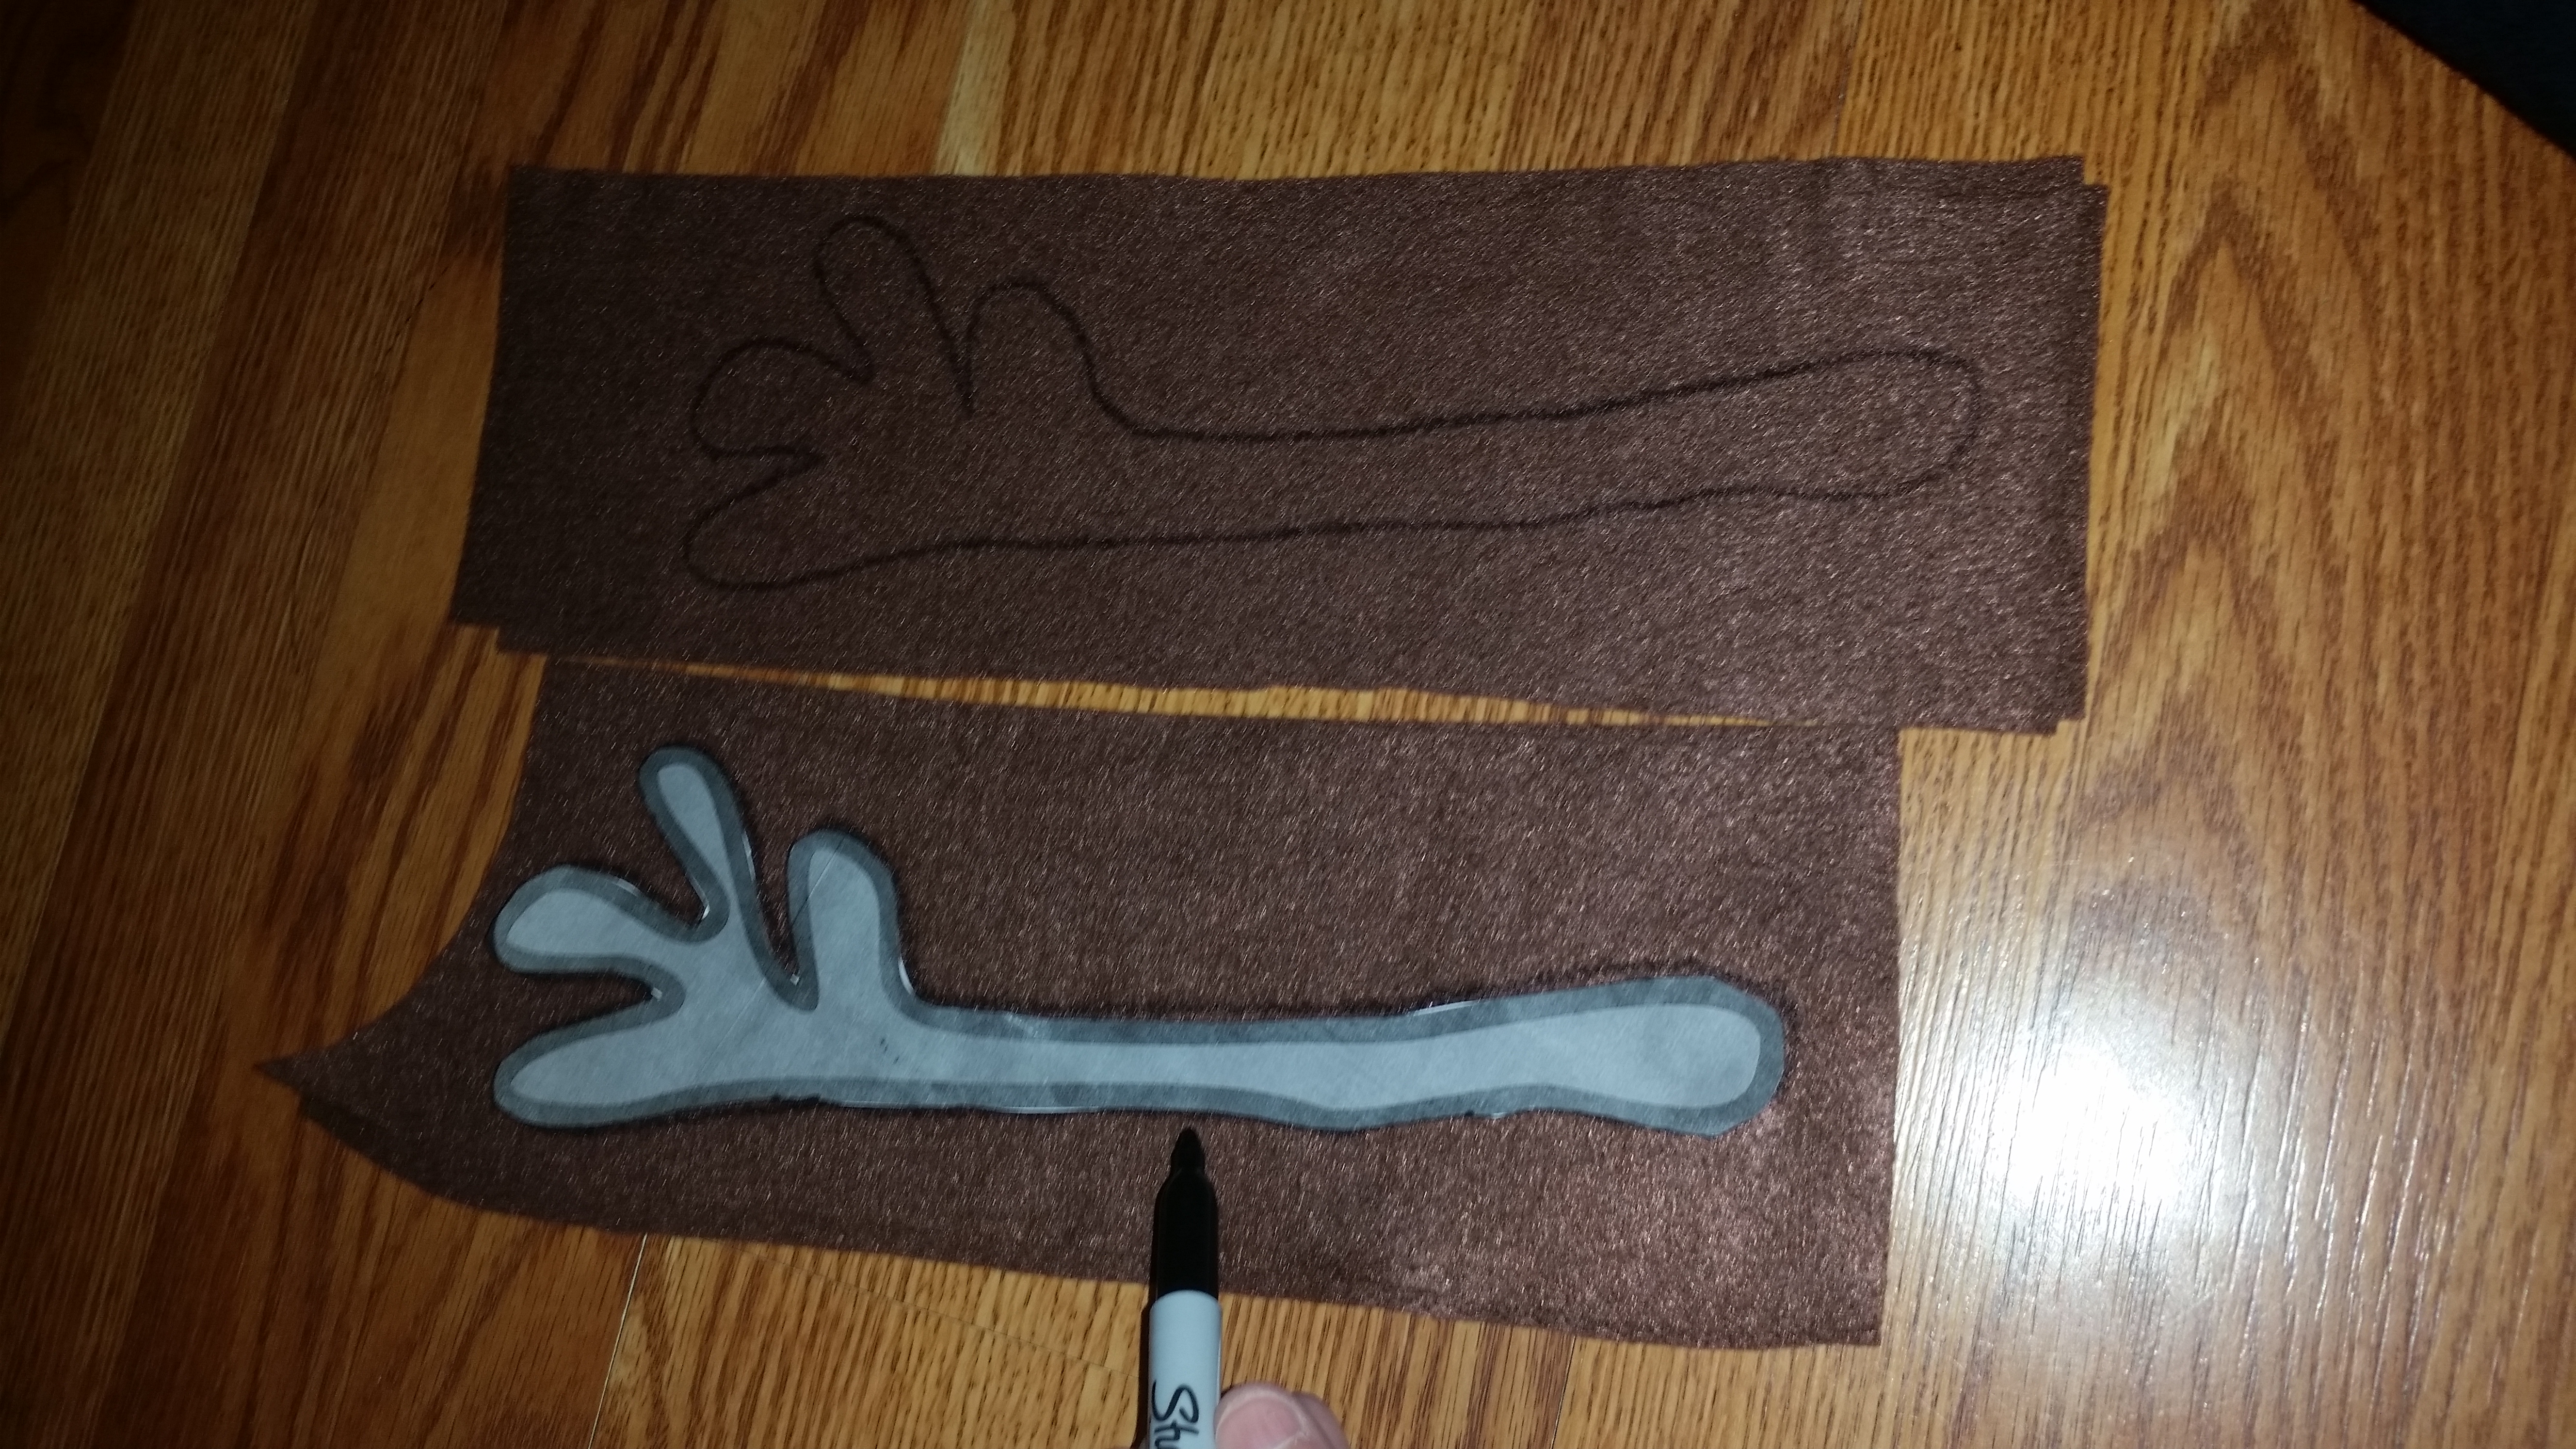
I did this with all the small parts
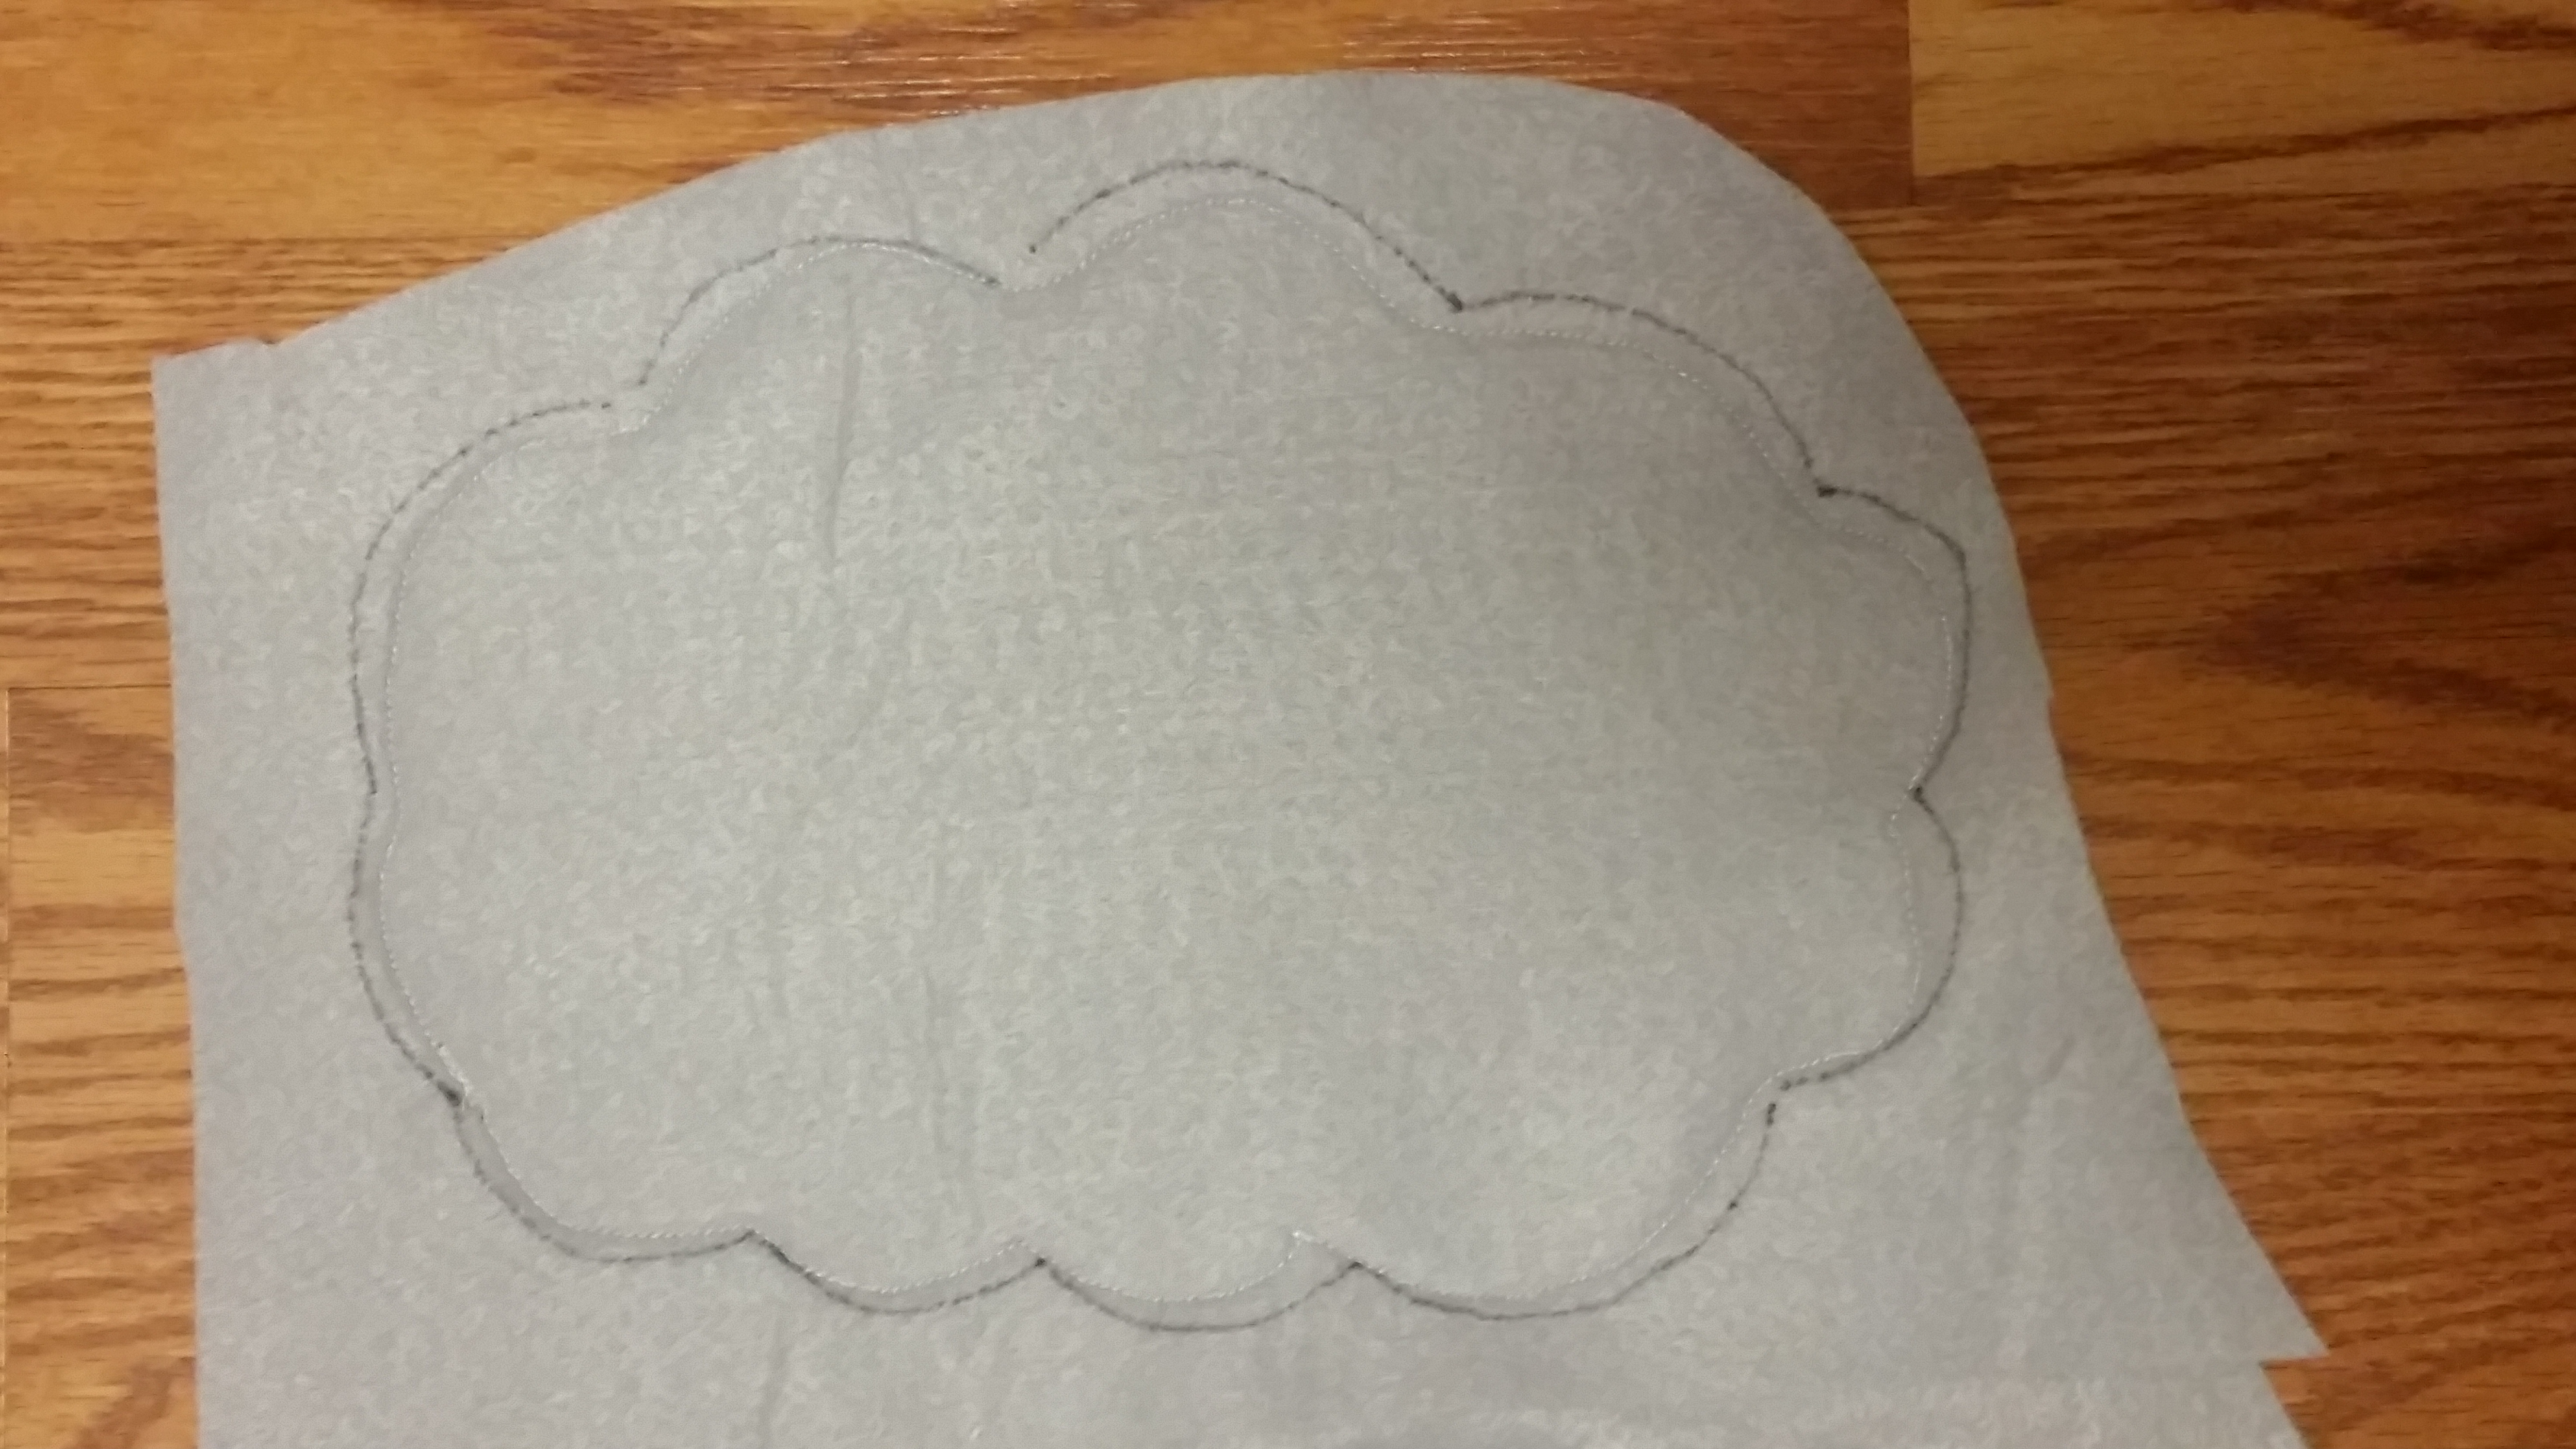
Then I trimmed it around the edges
I did the same thing for all my small parts
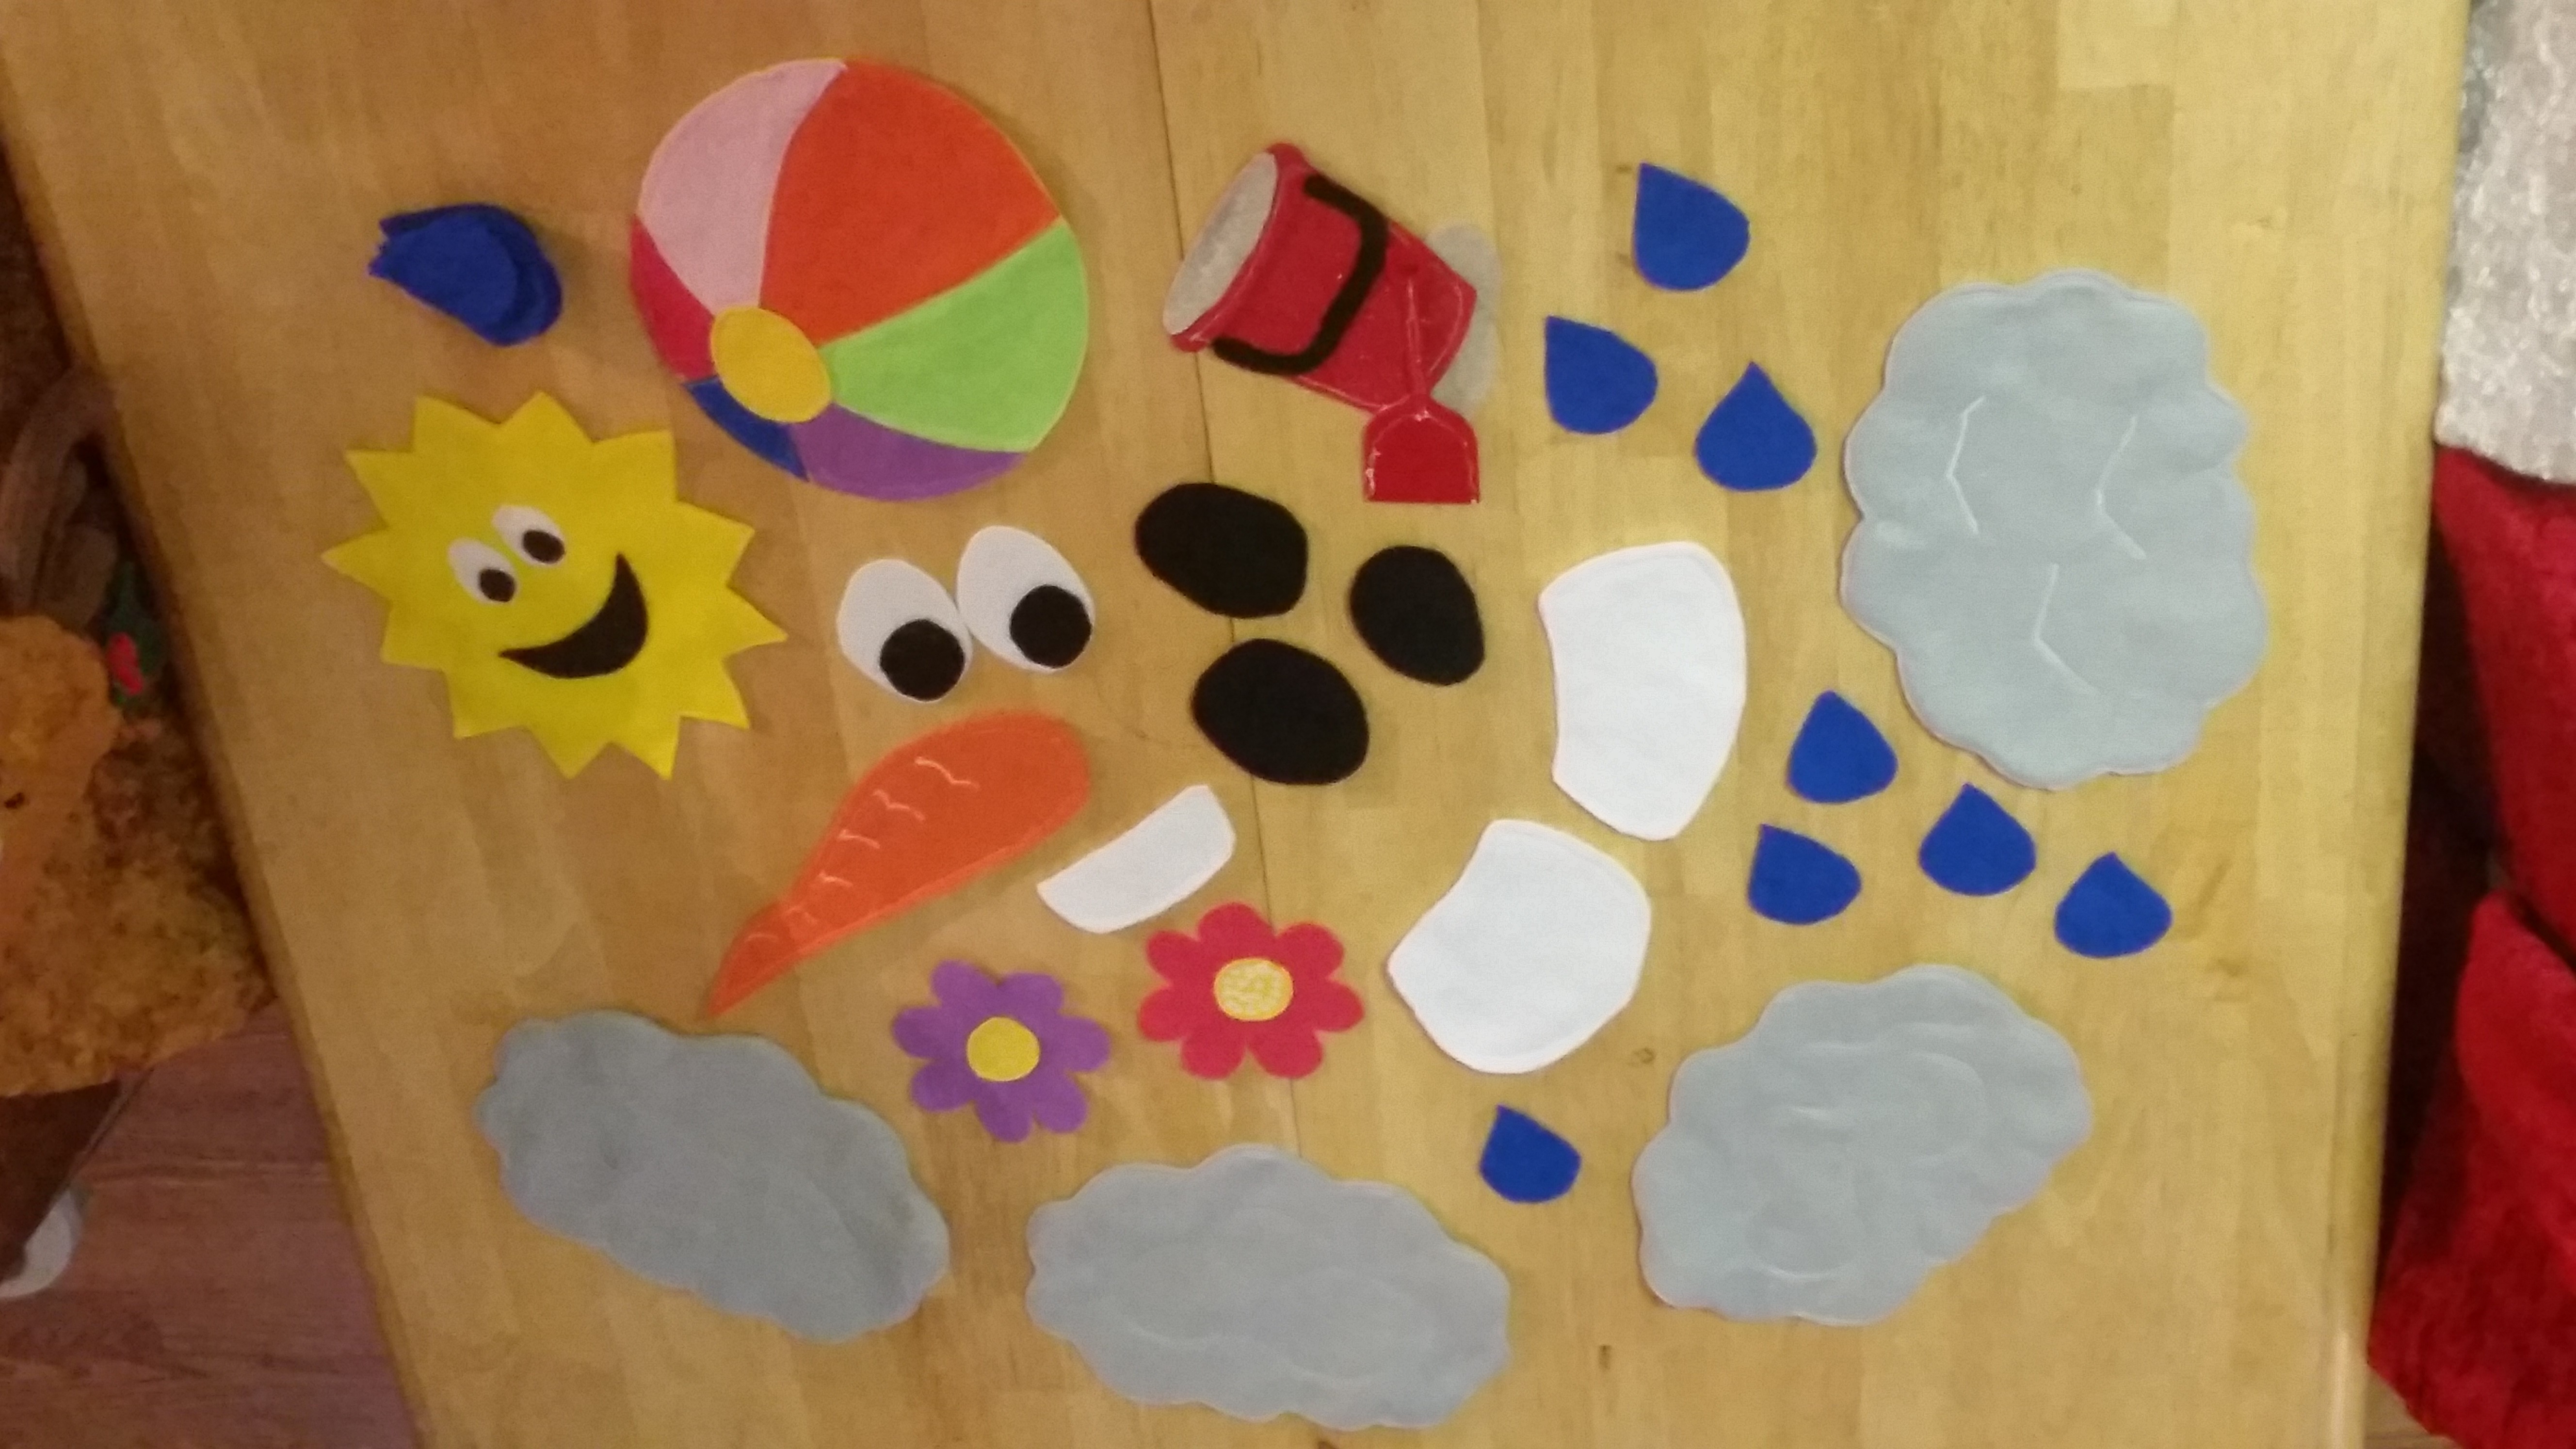
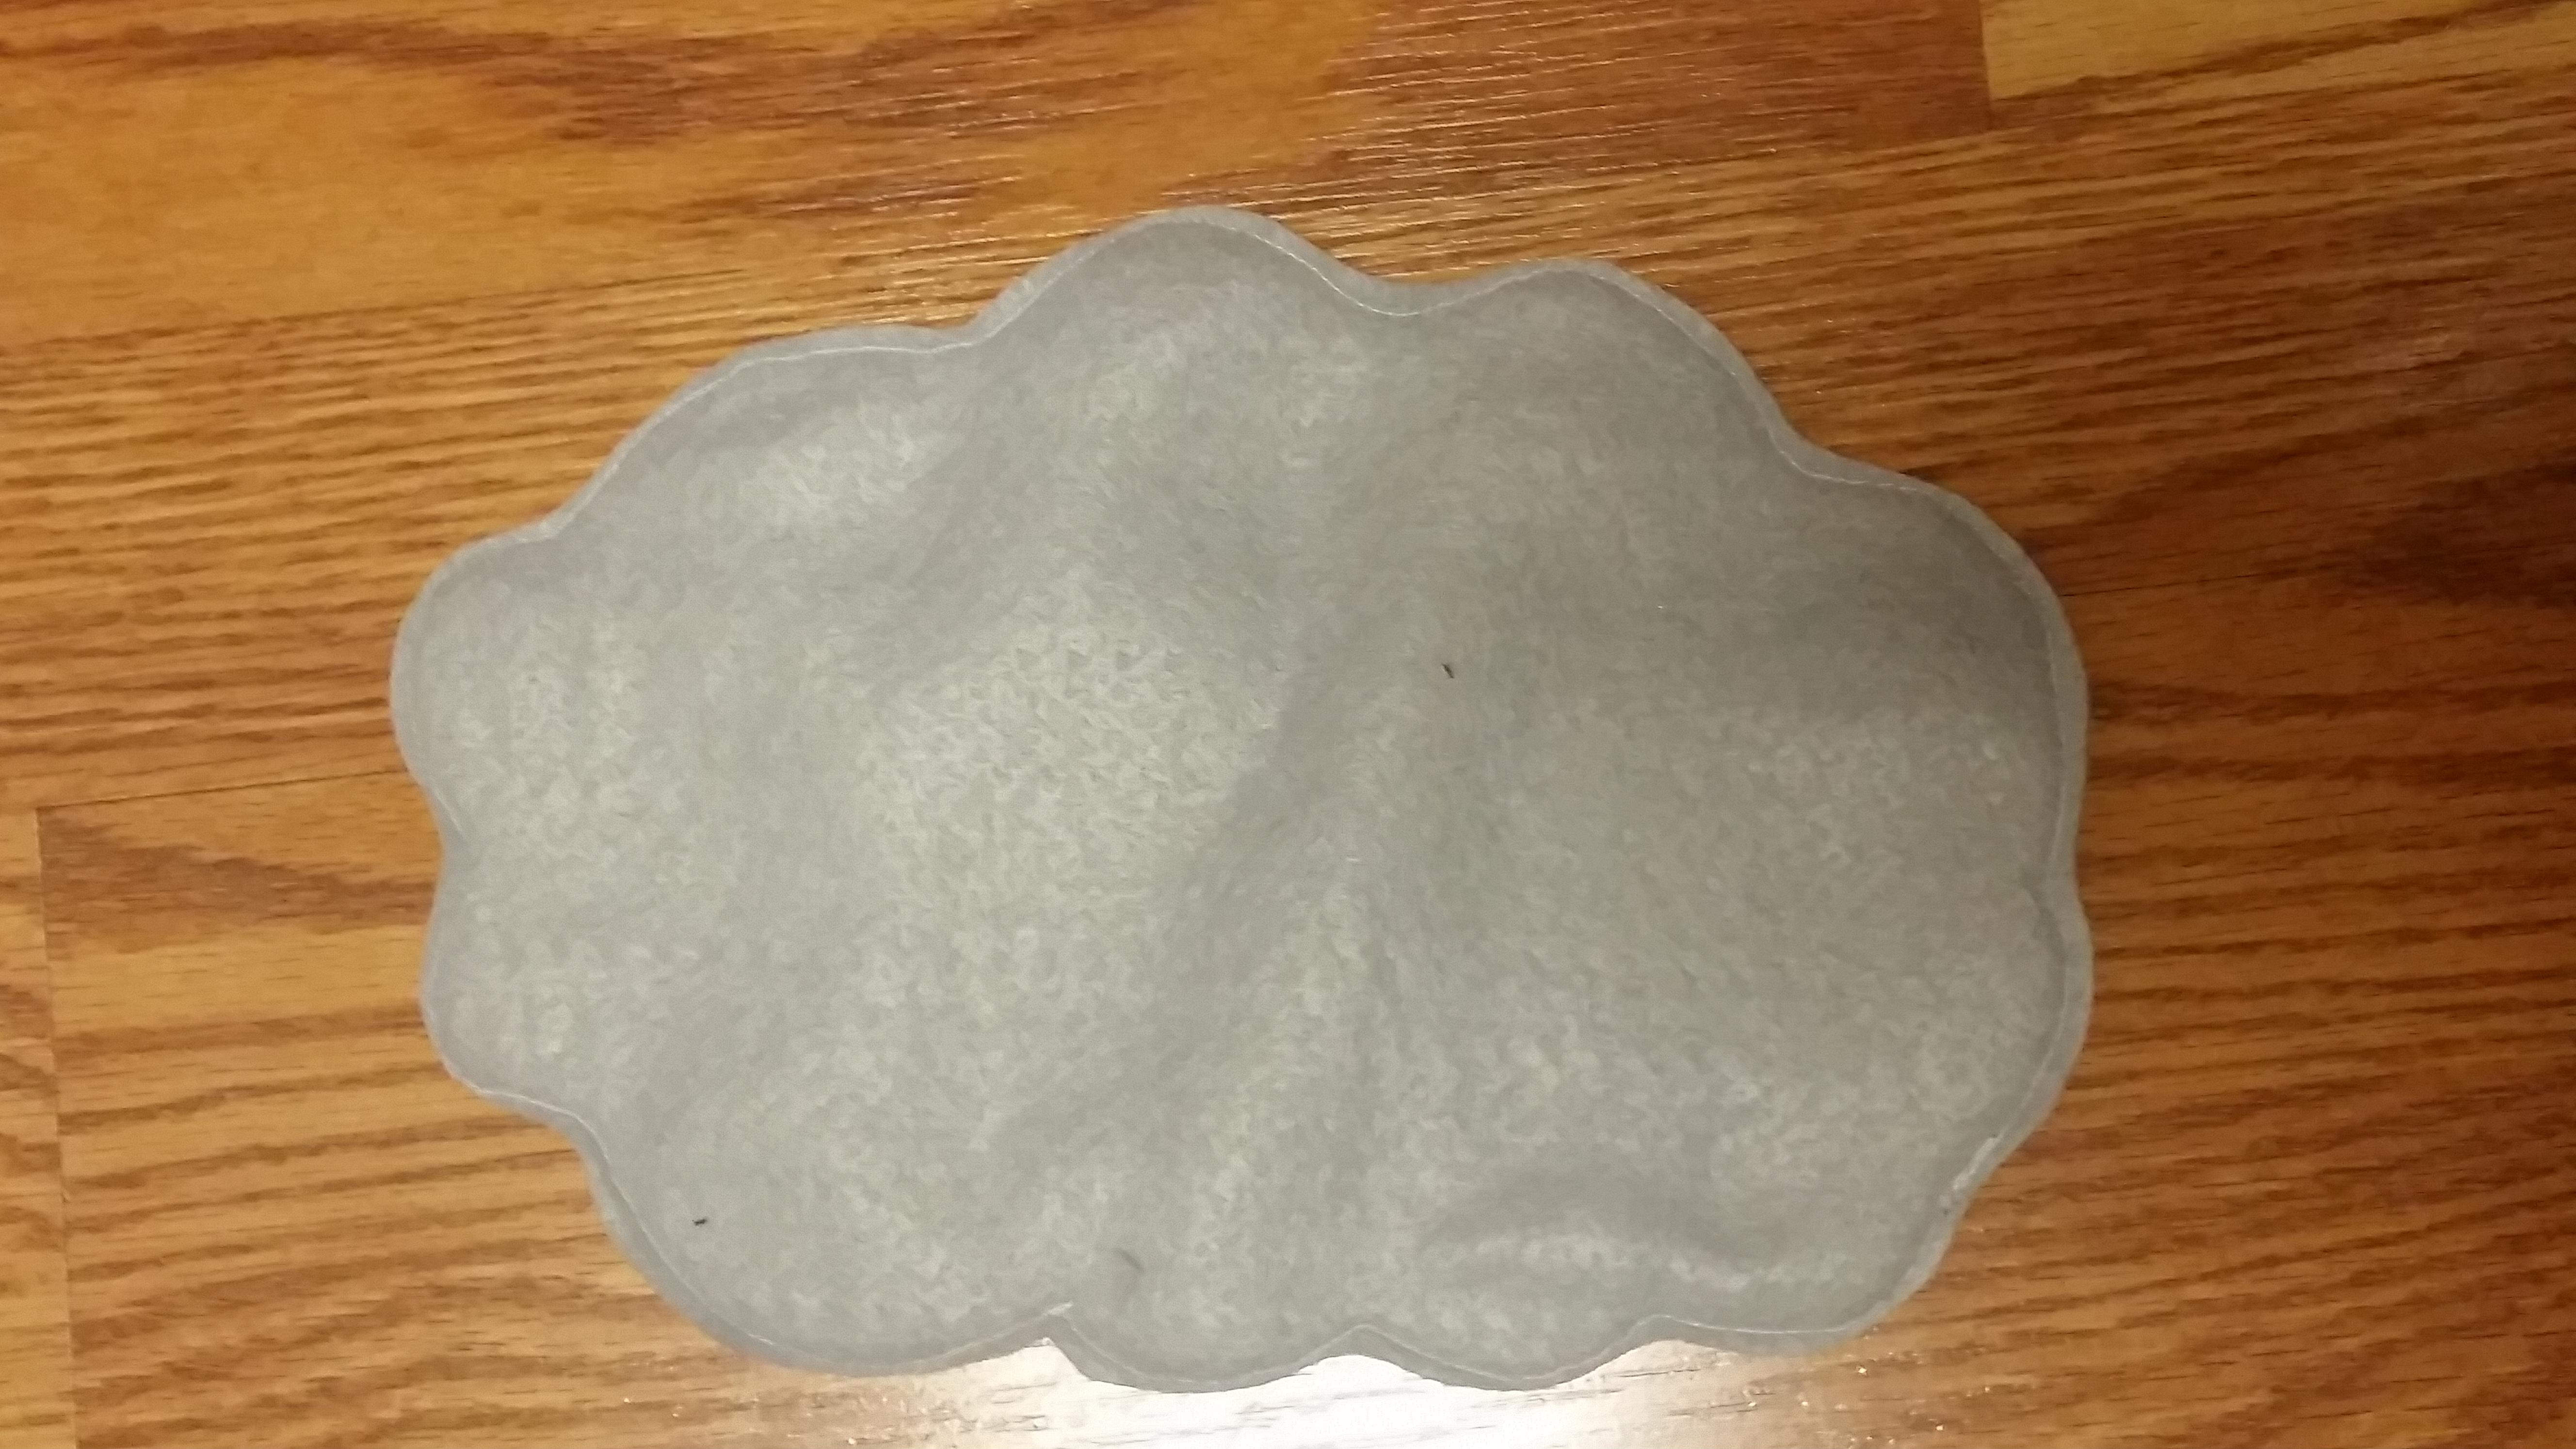
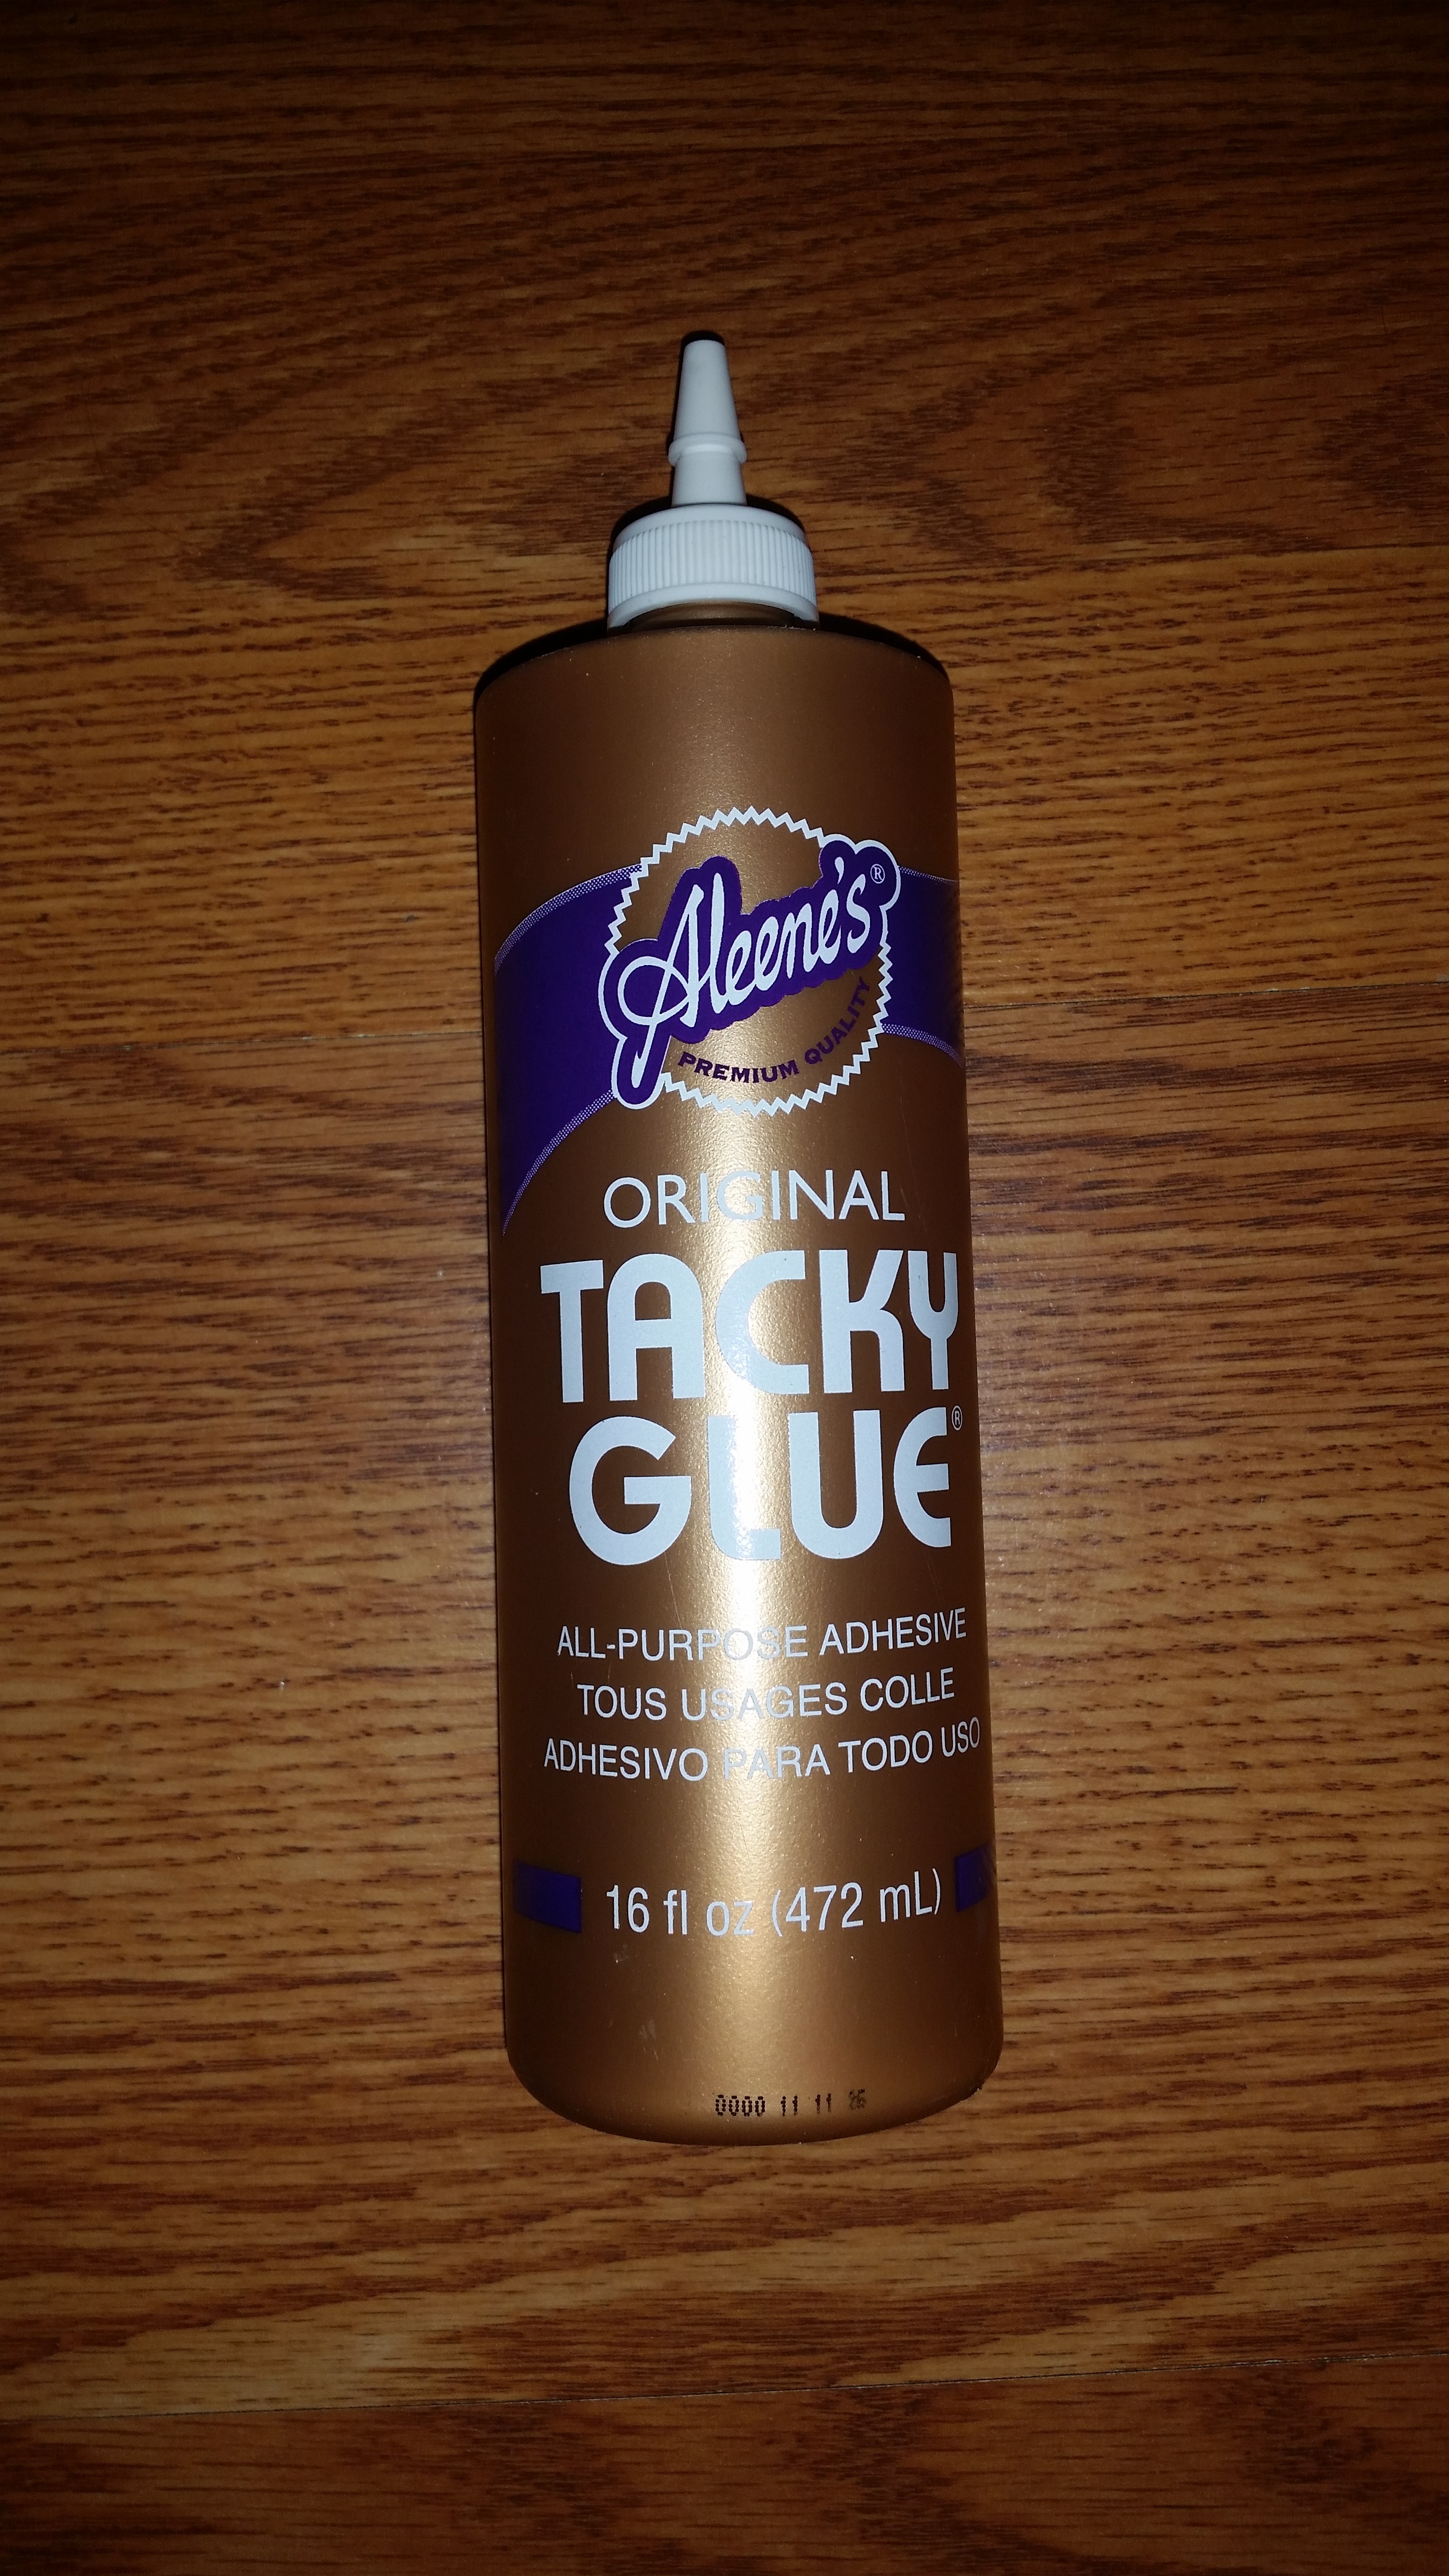
However, I did use a tad bit of TACKY glue between each of the small pieces to help them stay together while sewing it. Note I also let the glue dry for 4 hours before sewing each piece together.
Glue it, let it dry , sew it then cut it out
I even did this to help with the main background before I sewed them on because I really dislike stick pins.
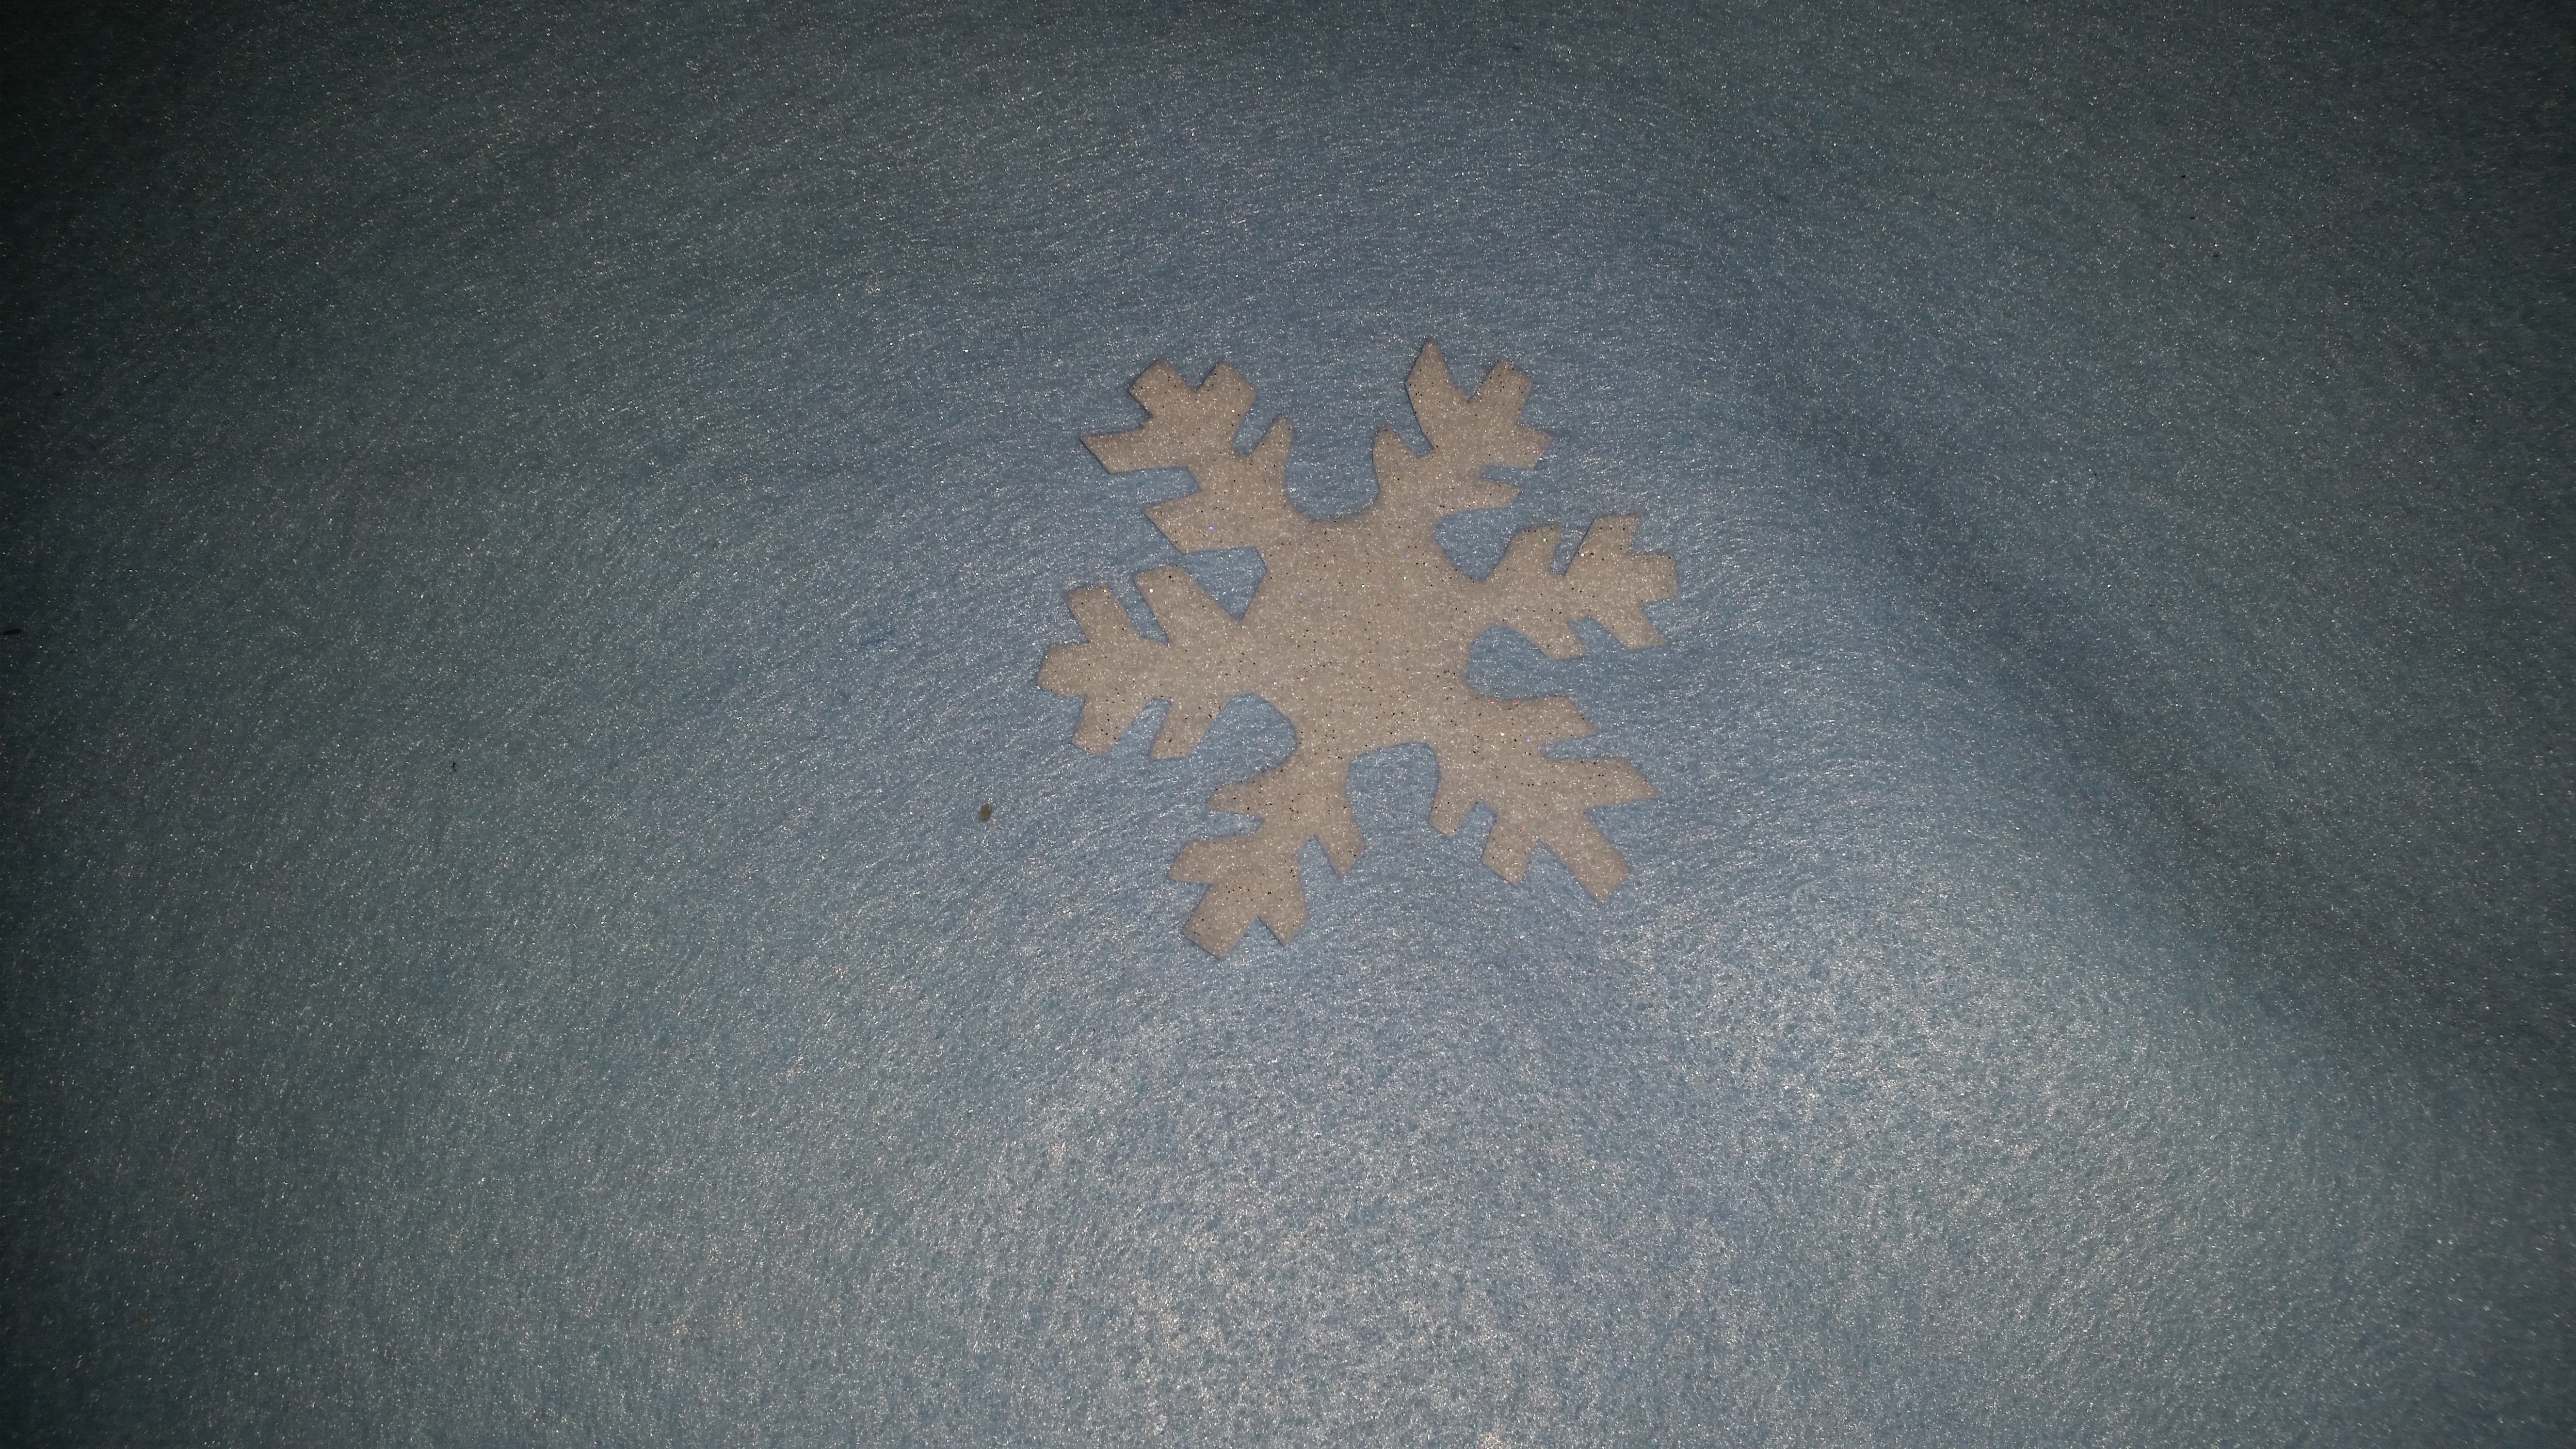
Snowflakes are a bit tricky to cutout but if you use micro tip scissors and stiff felt it is a lot easier to work with. I used the 8×11 stiff whit glitter sheets and did not double them for thickness.
You can cut on top of your felt like this
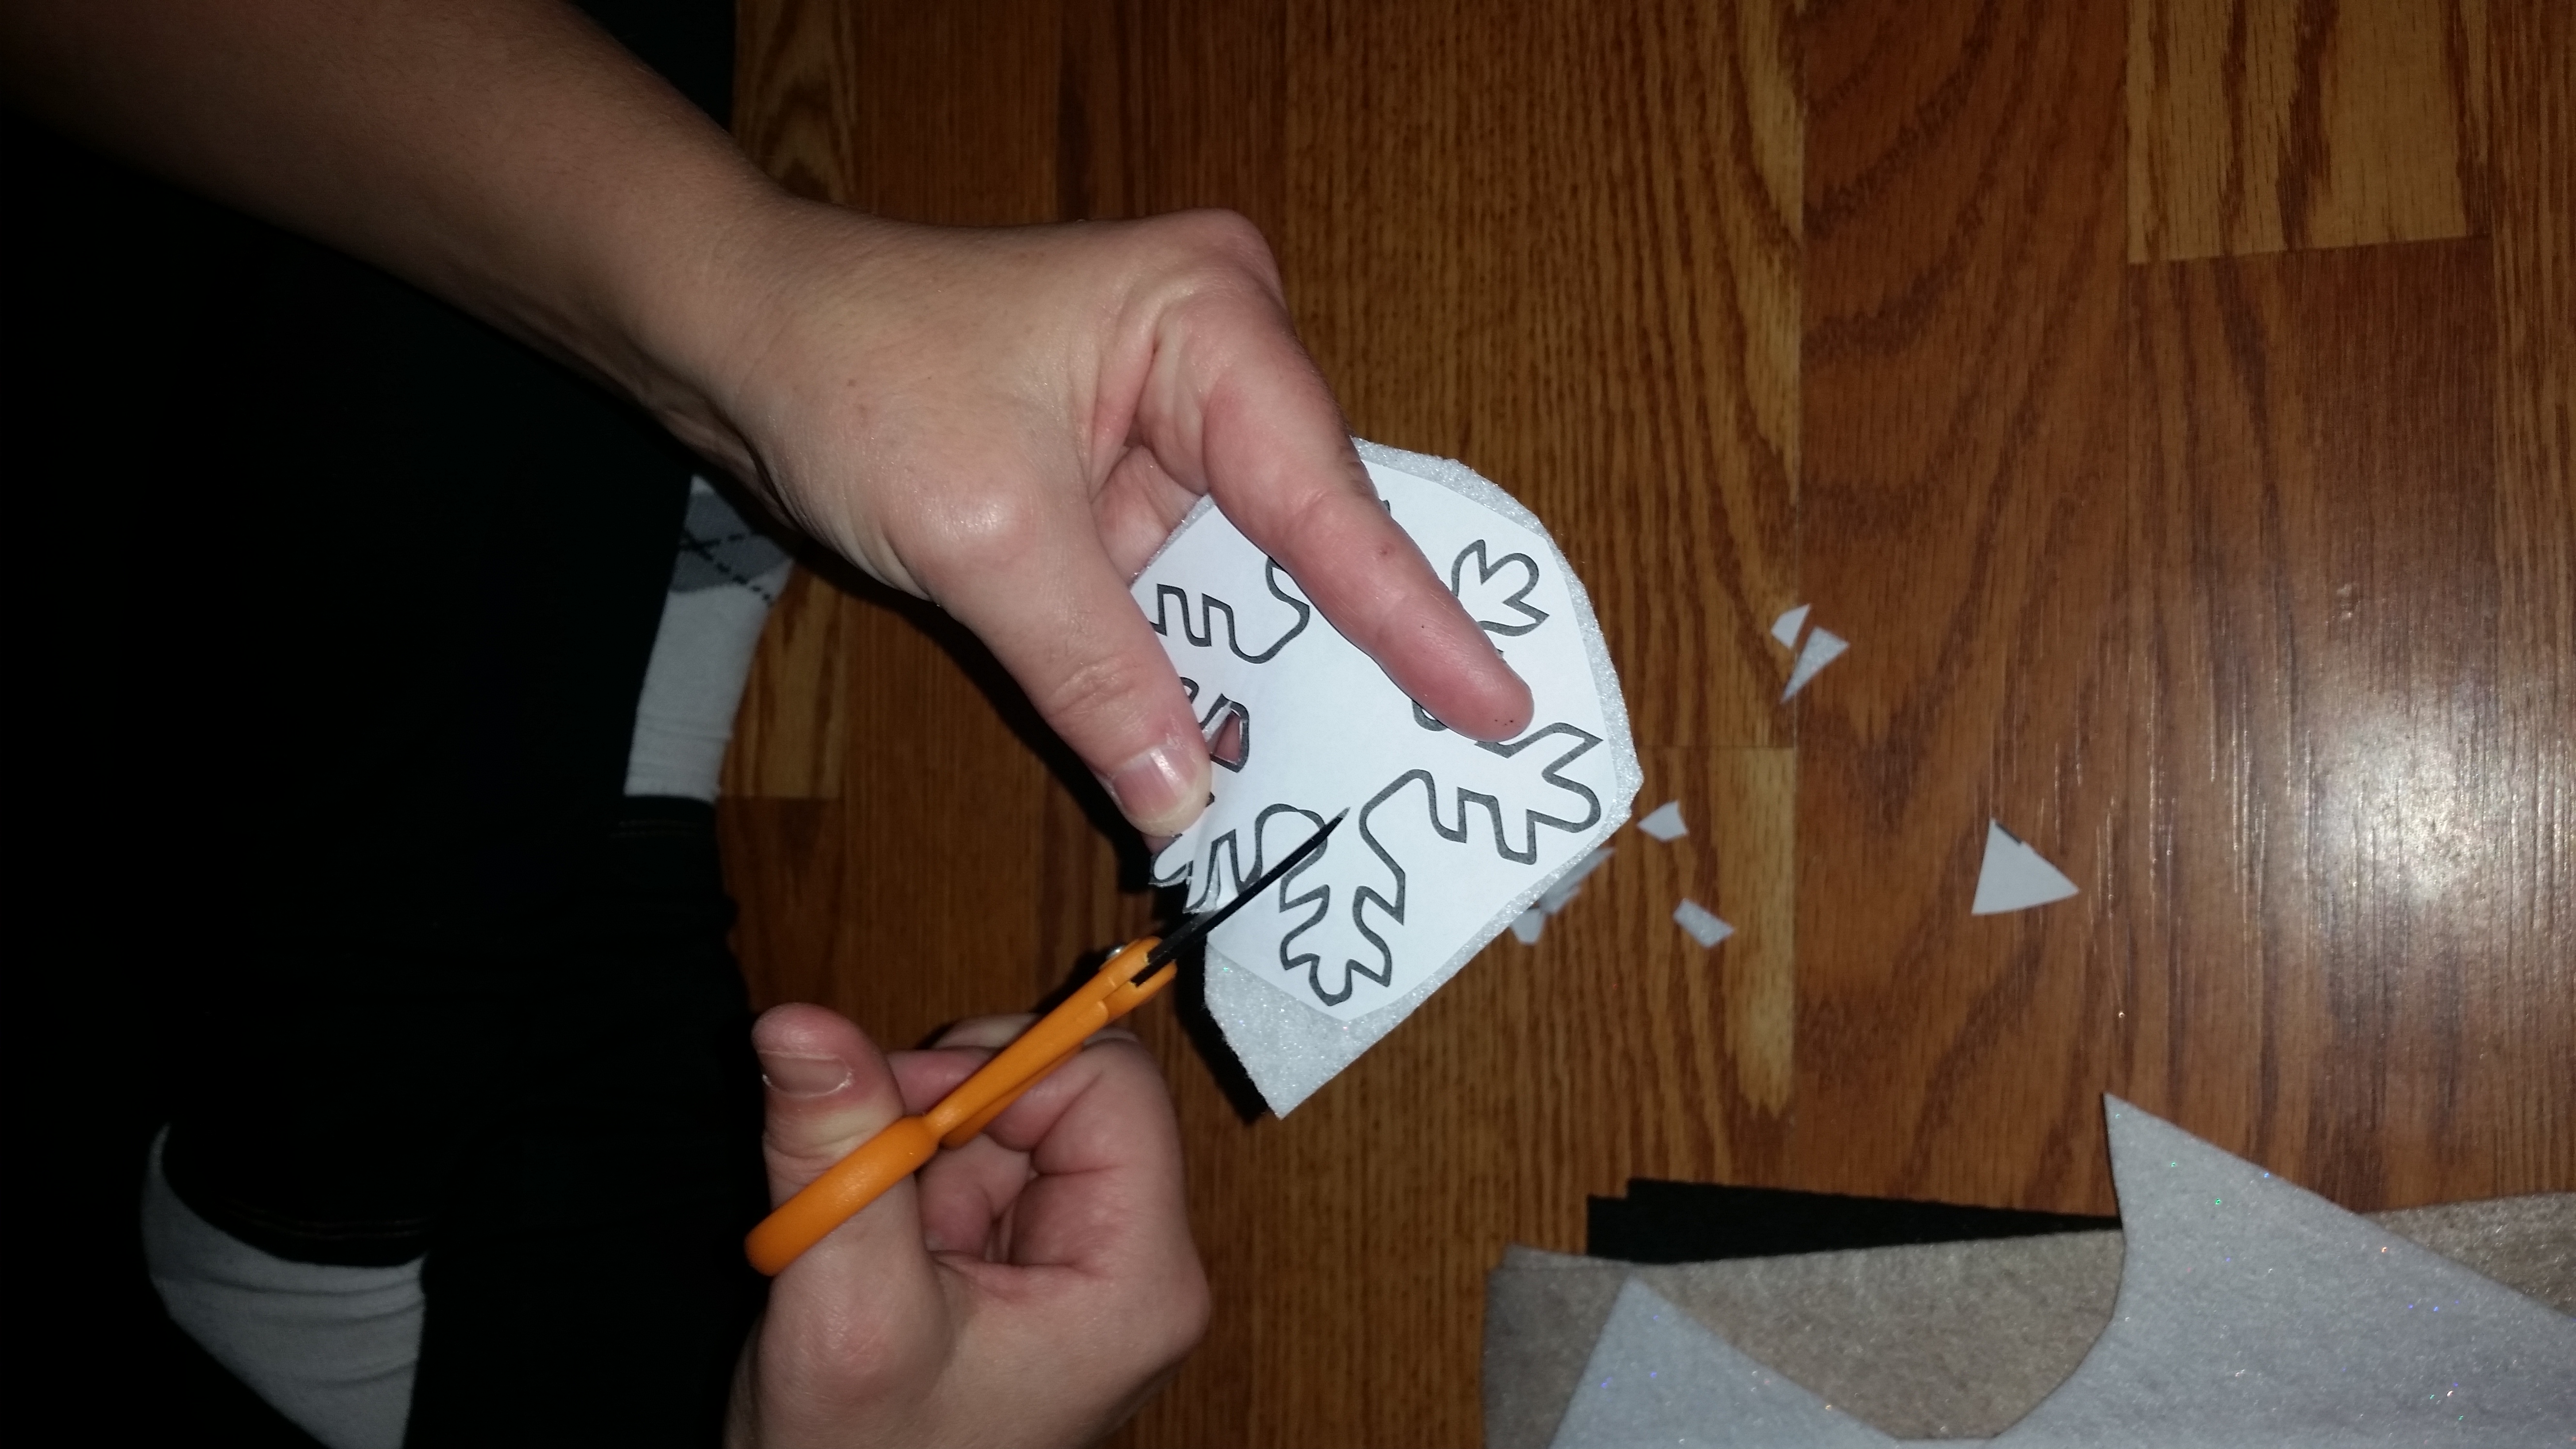
or you can cut out your snowflake then trace it on your felt with a sharpie like this
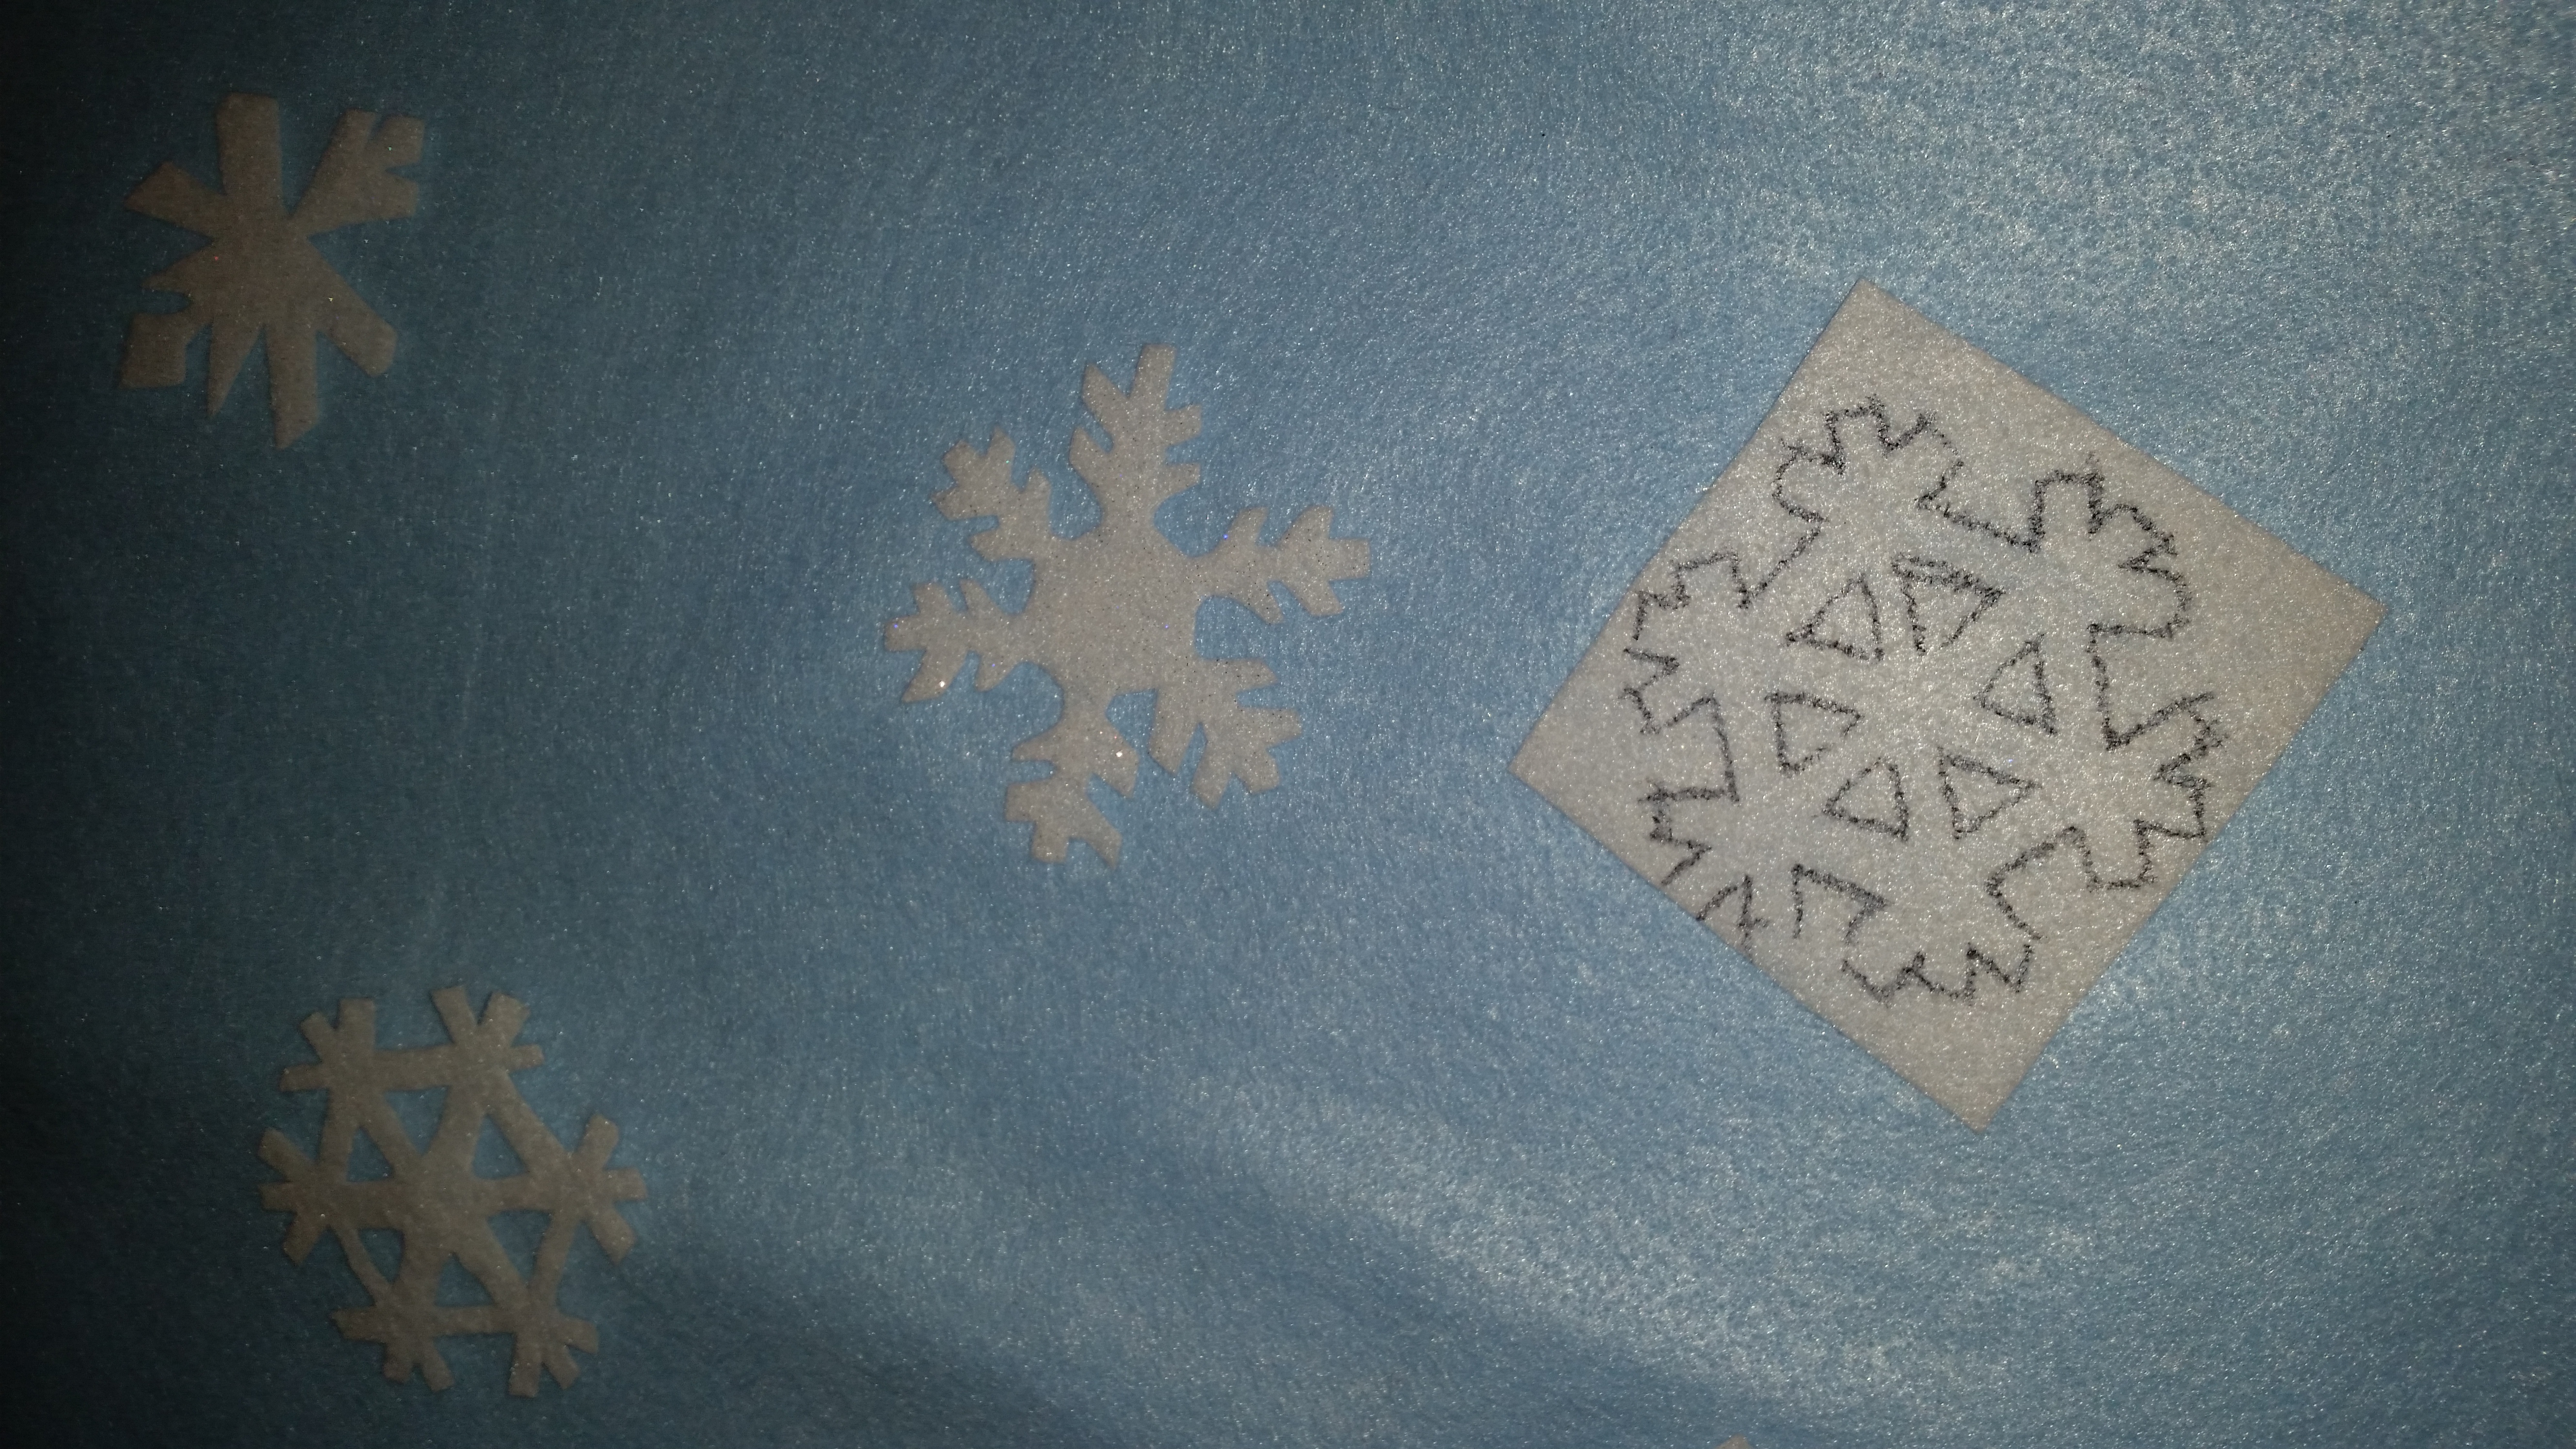
I pre cut my felt out so I only had to hold a small piece for each snowflake

Before you glue or sew anything to your background be sure to lay it out first because you may not like how it looks.
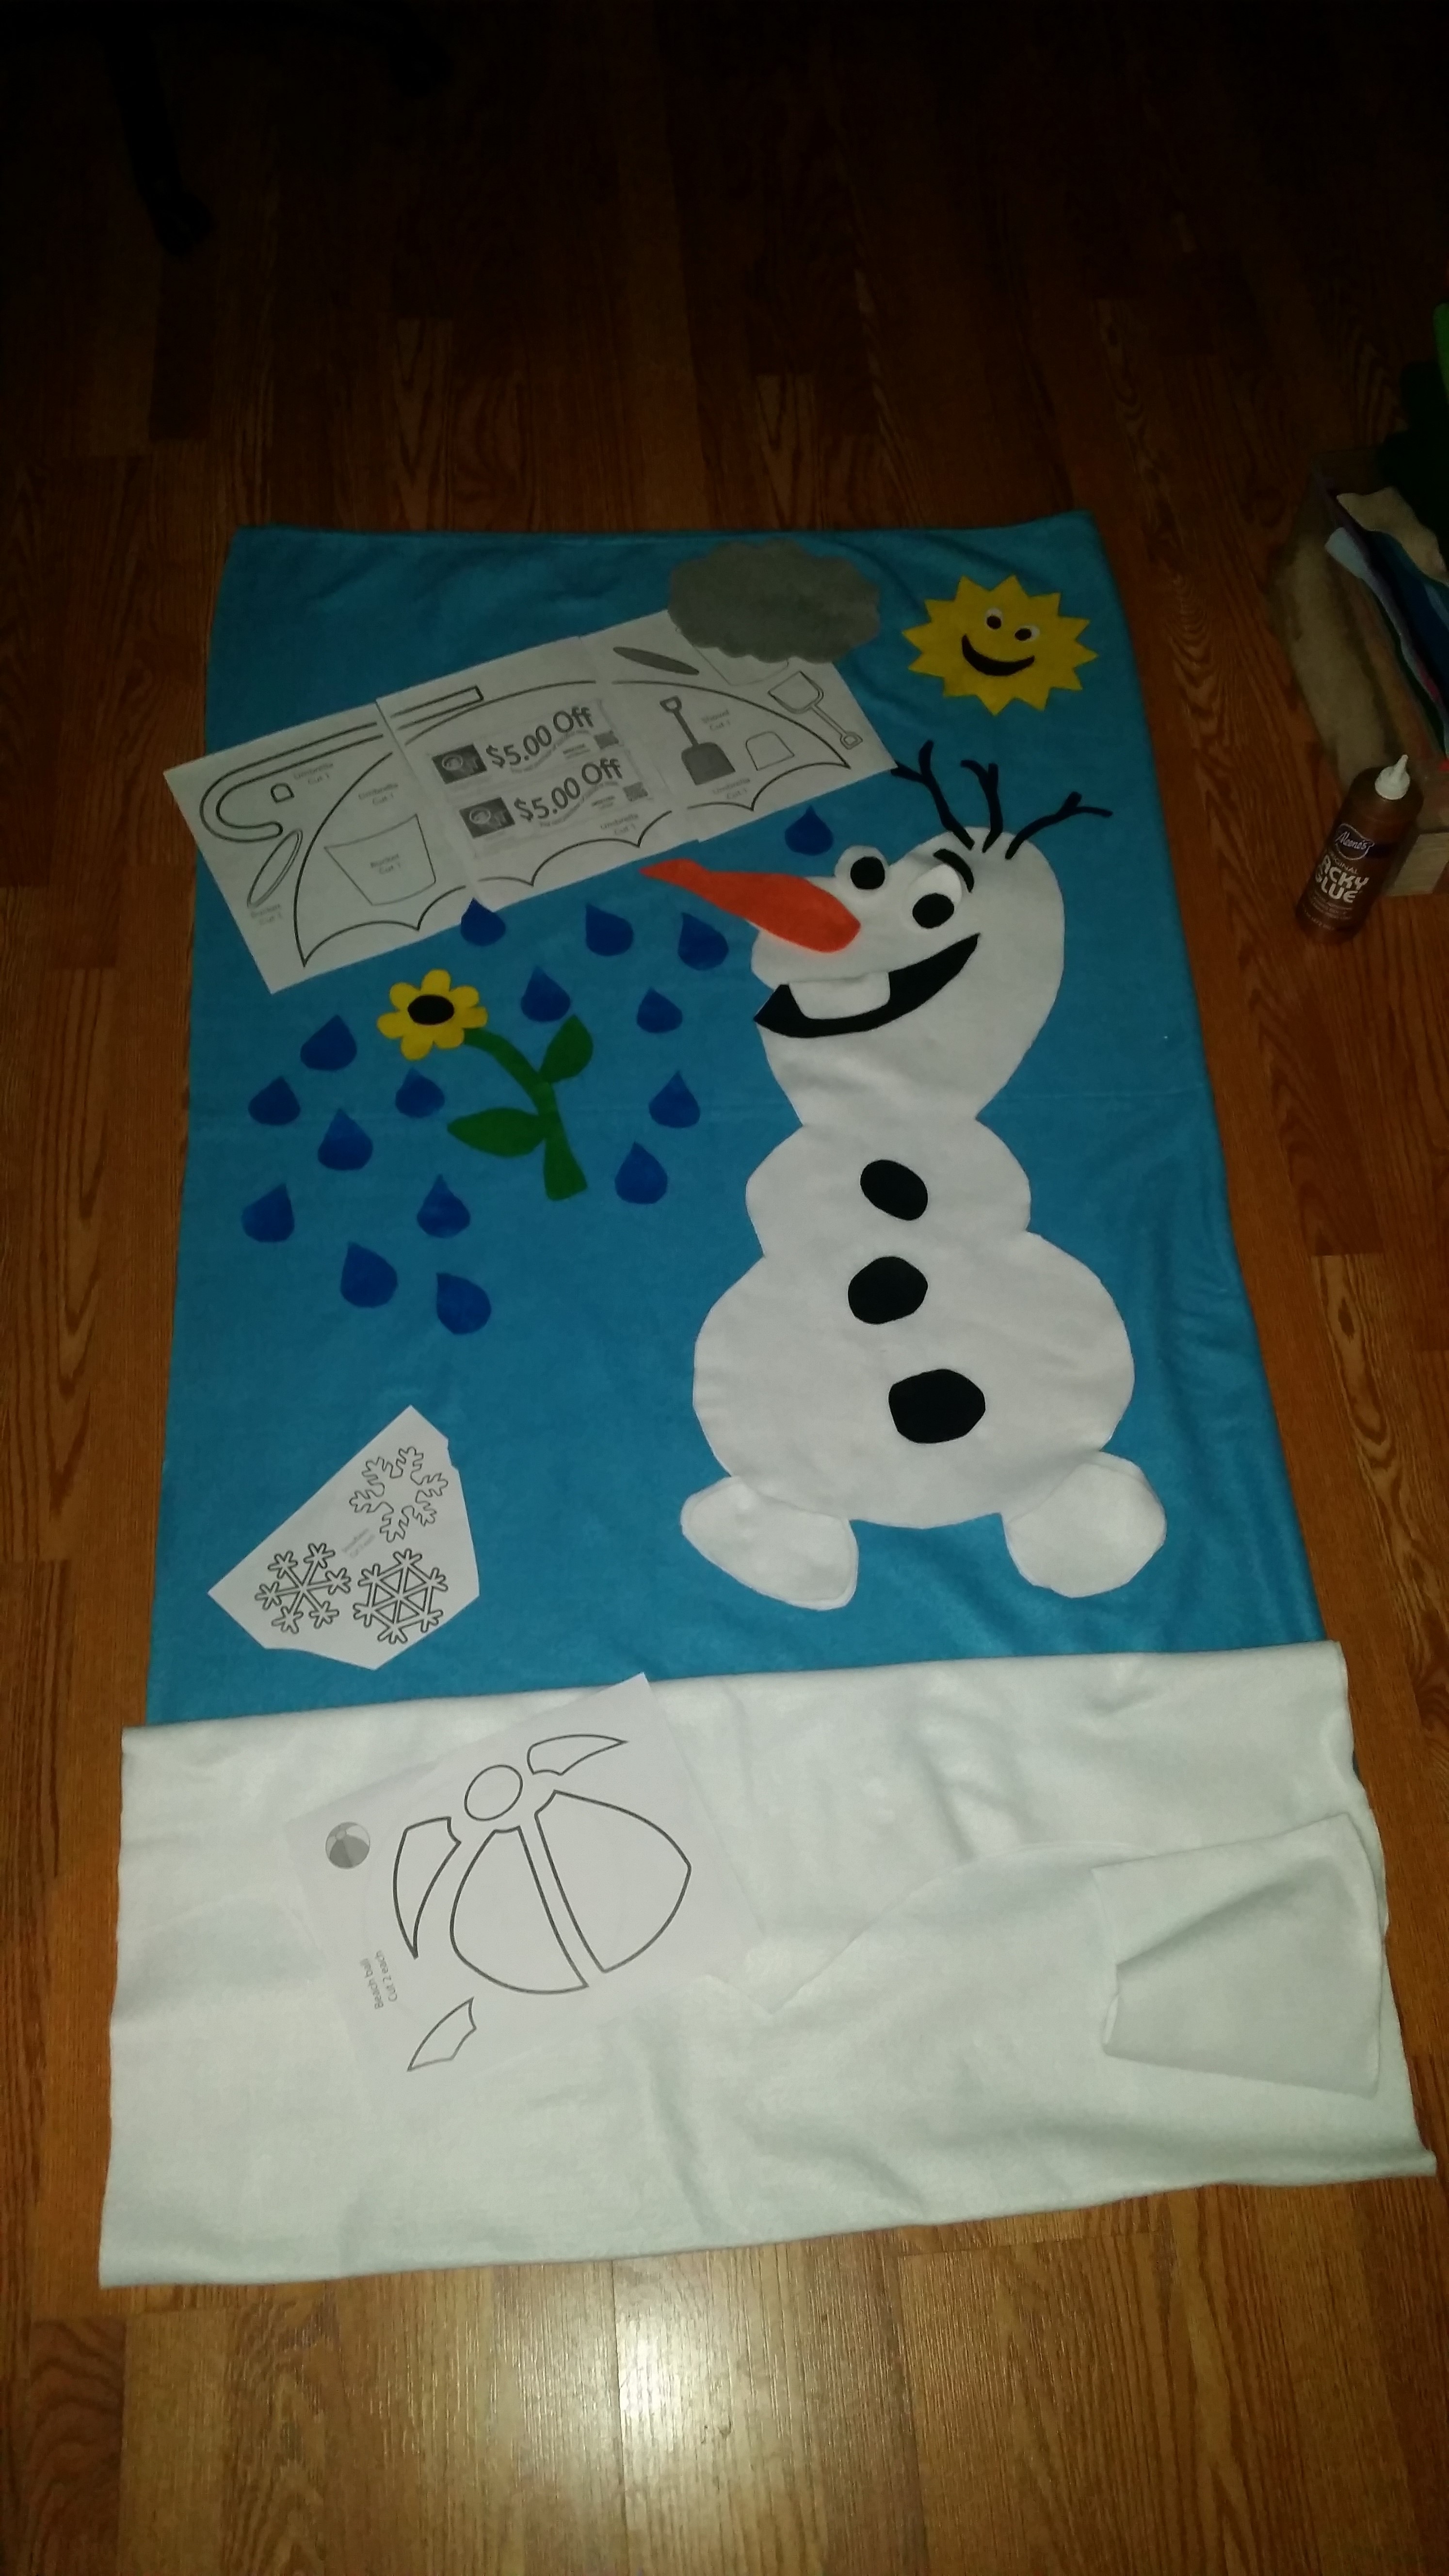
See I didn’t like mine so I changed my mind and did this one
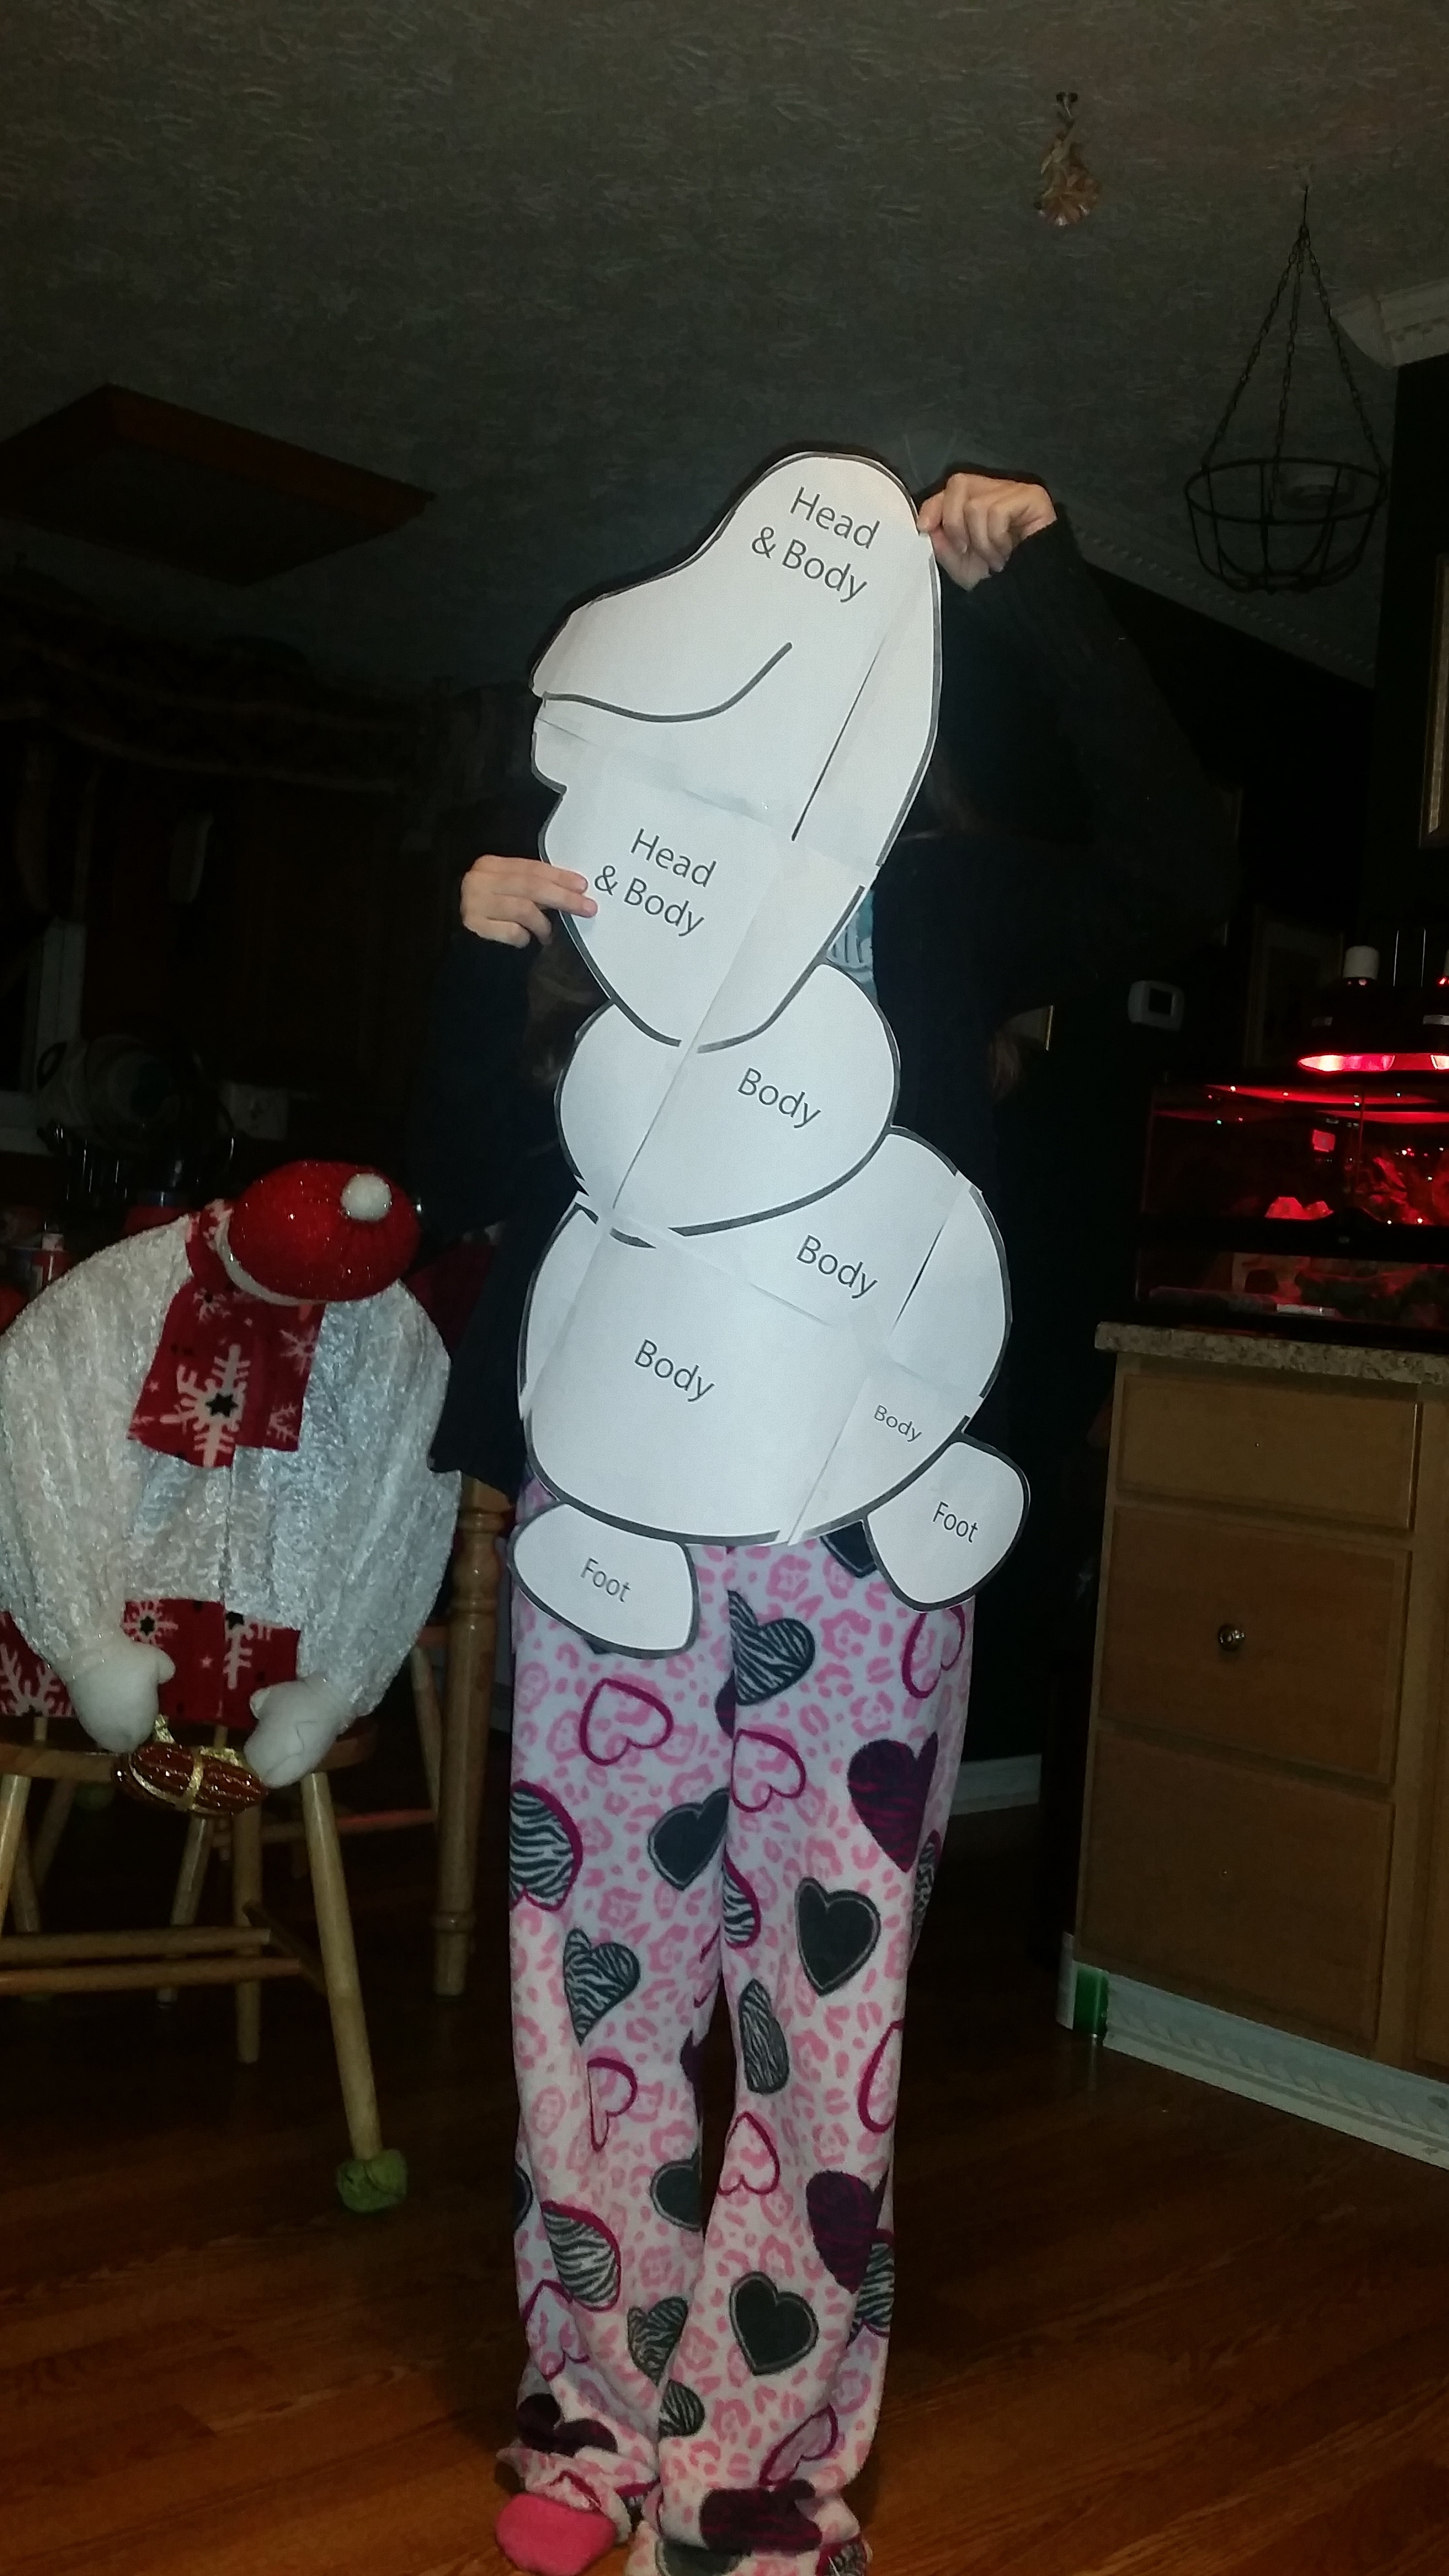
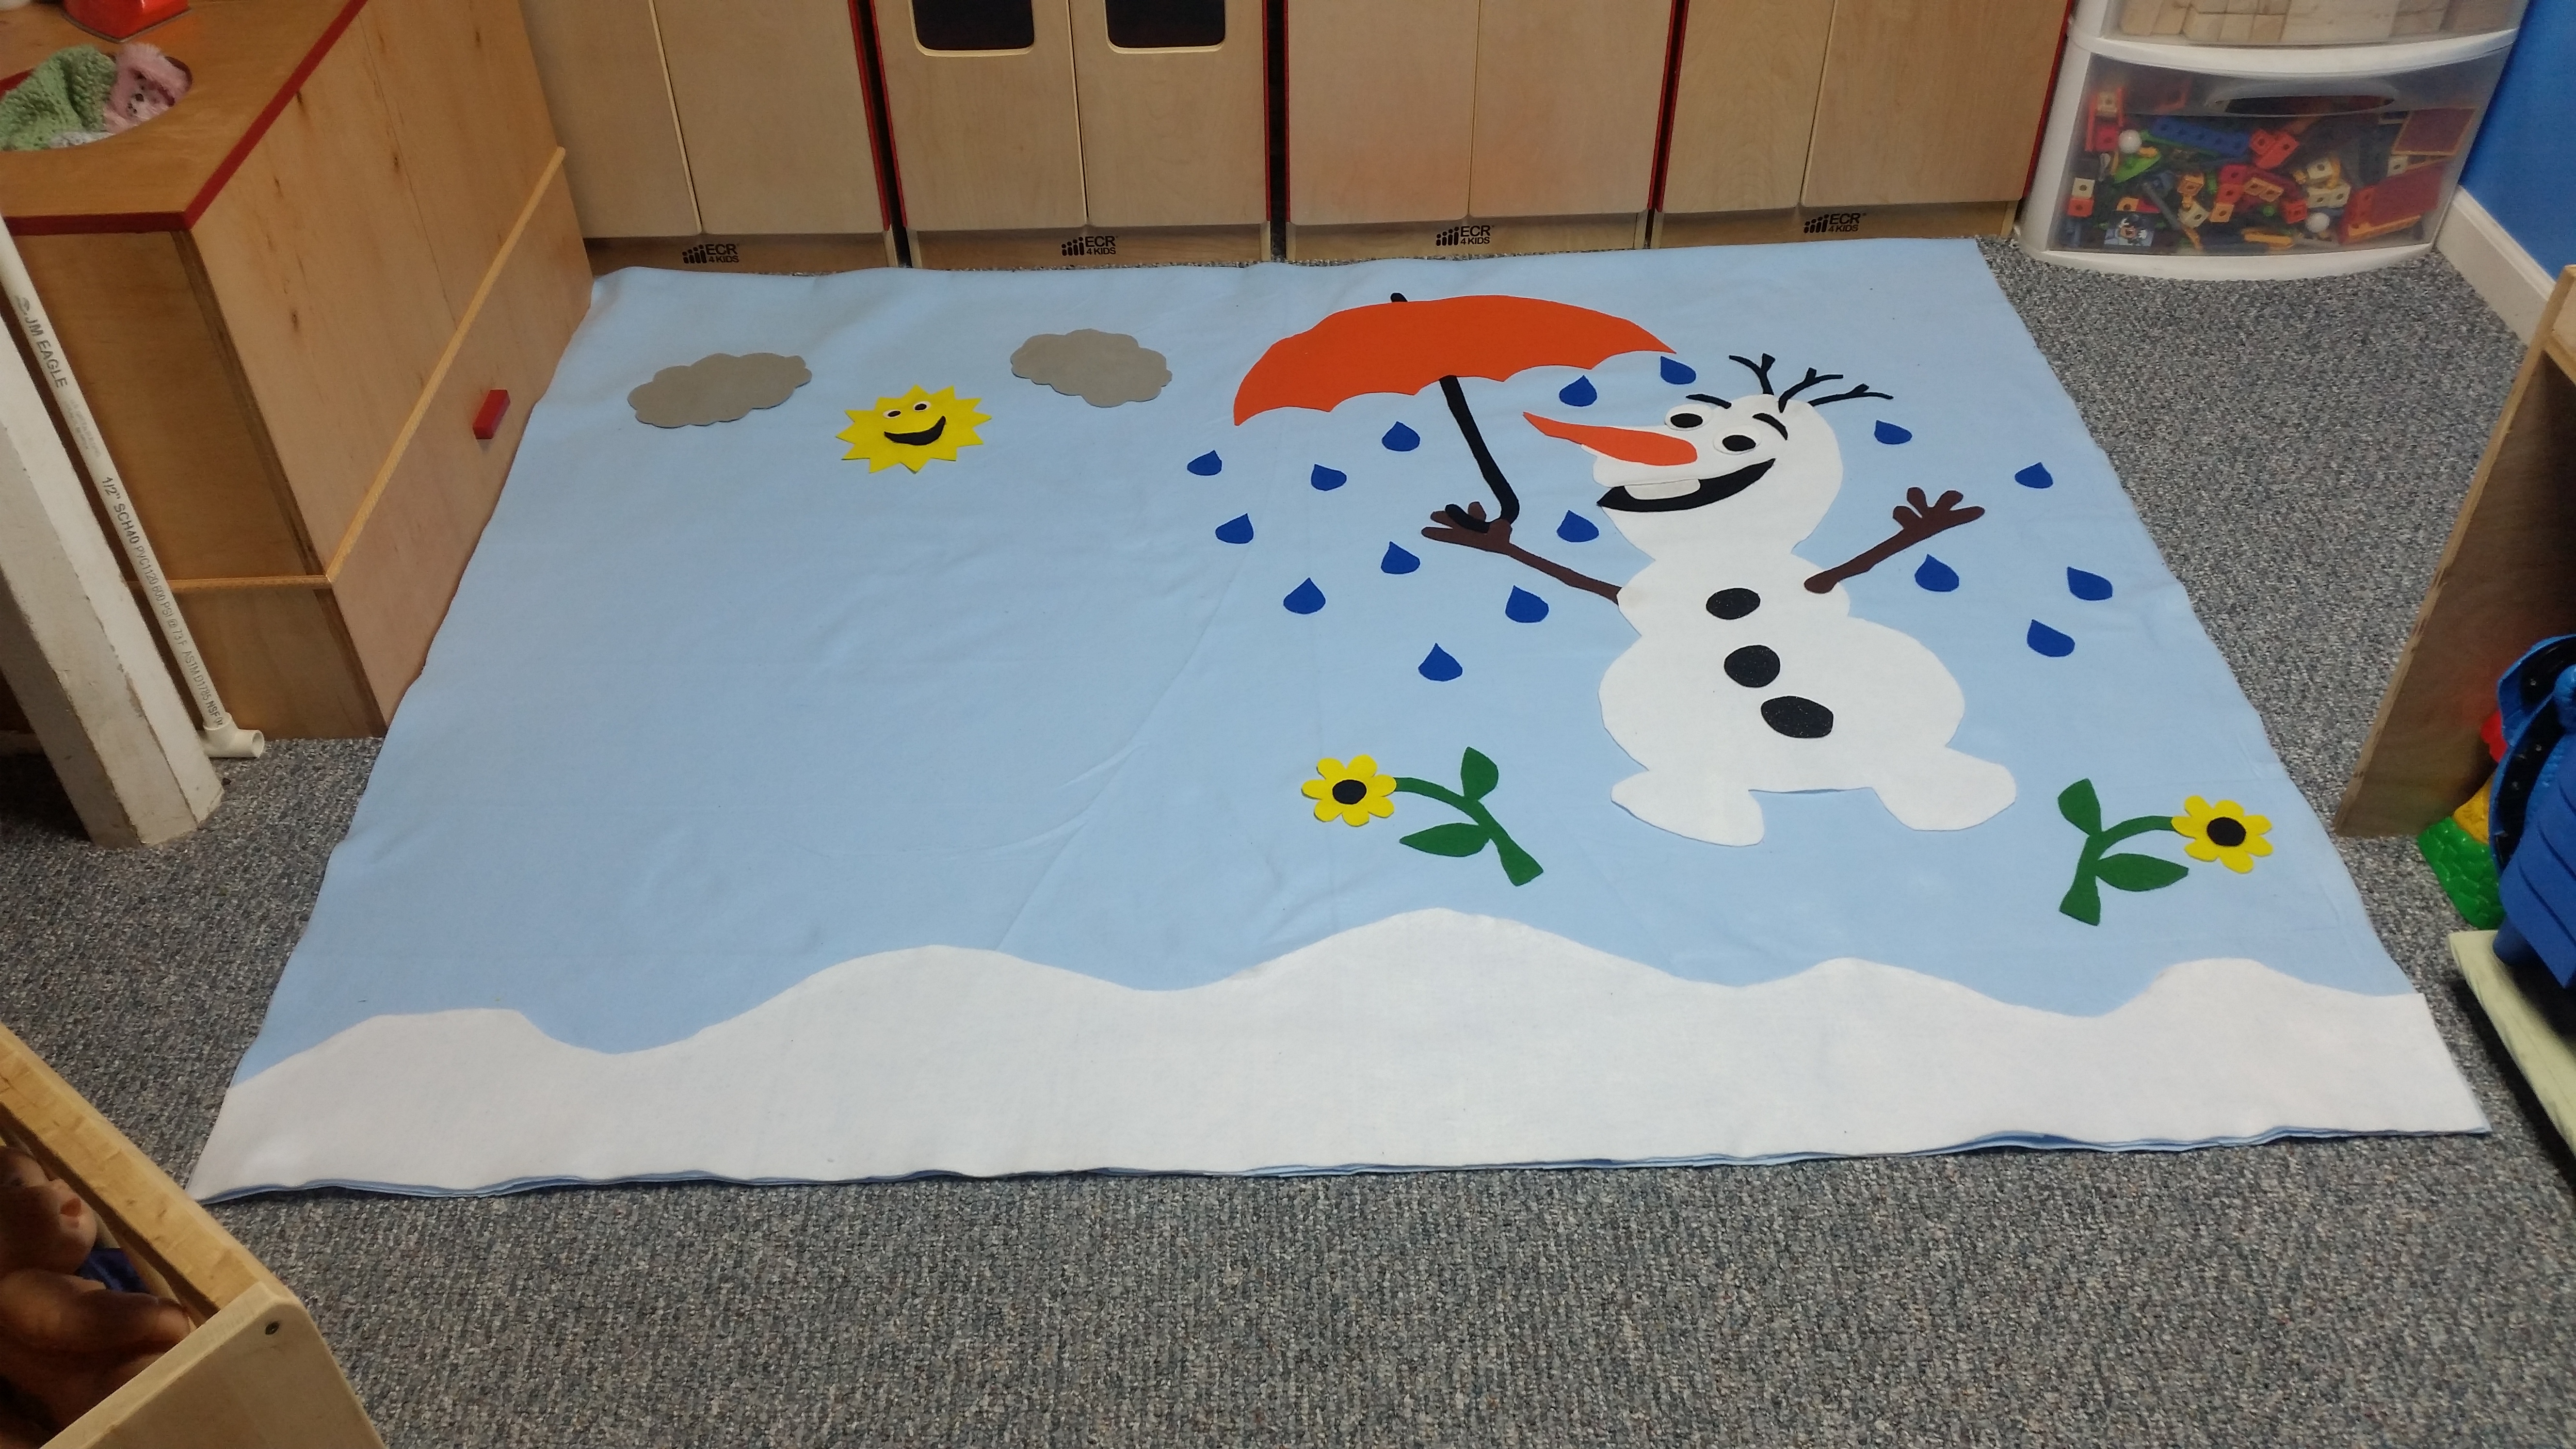
Stand Alone Snowman
5’X6′ Felt Wall
Now lets see how it works…
Well I hope you all have enjoyed this post and the videos too.
Click HERE to get your template FREE today (free for members only so sign up today)
If you don’t have a membership you can sign up for one for FREE by clicking HERE now.
All I ask is if you create one from my template then please email me a picture without children in it of your creation so I may post it on my sample page.
Email Laurie your felt creation at: meettheneedscurriculum@gmail.com
No comments yet.